

Archive for September, 2008
Mixed Mode Video
Here’s the promised better example of BMOW’s video capabilities. It demonstrates text with different foreground and background colors, and the use of text and graphics on the same screen.
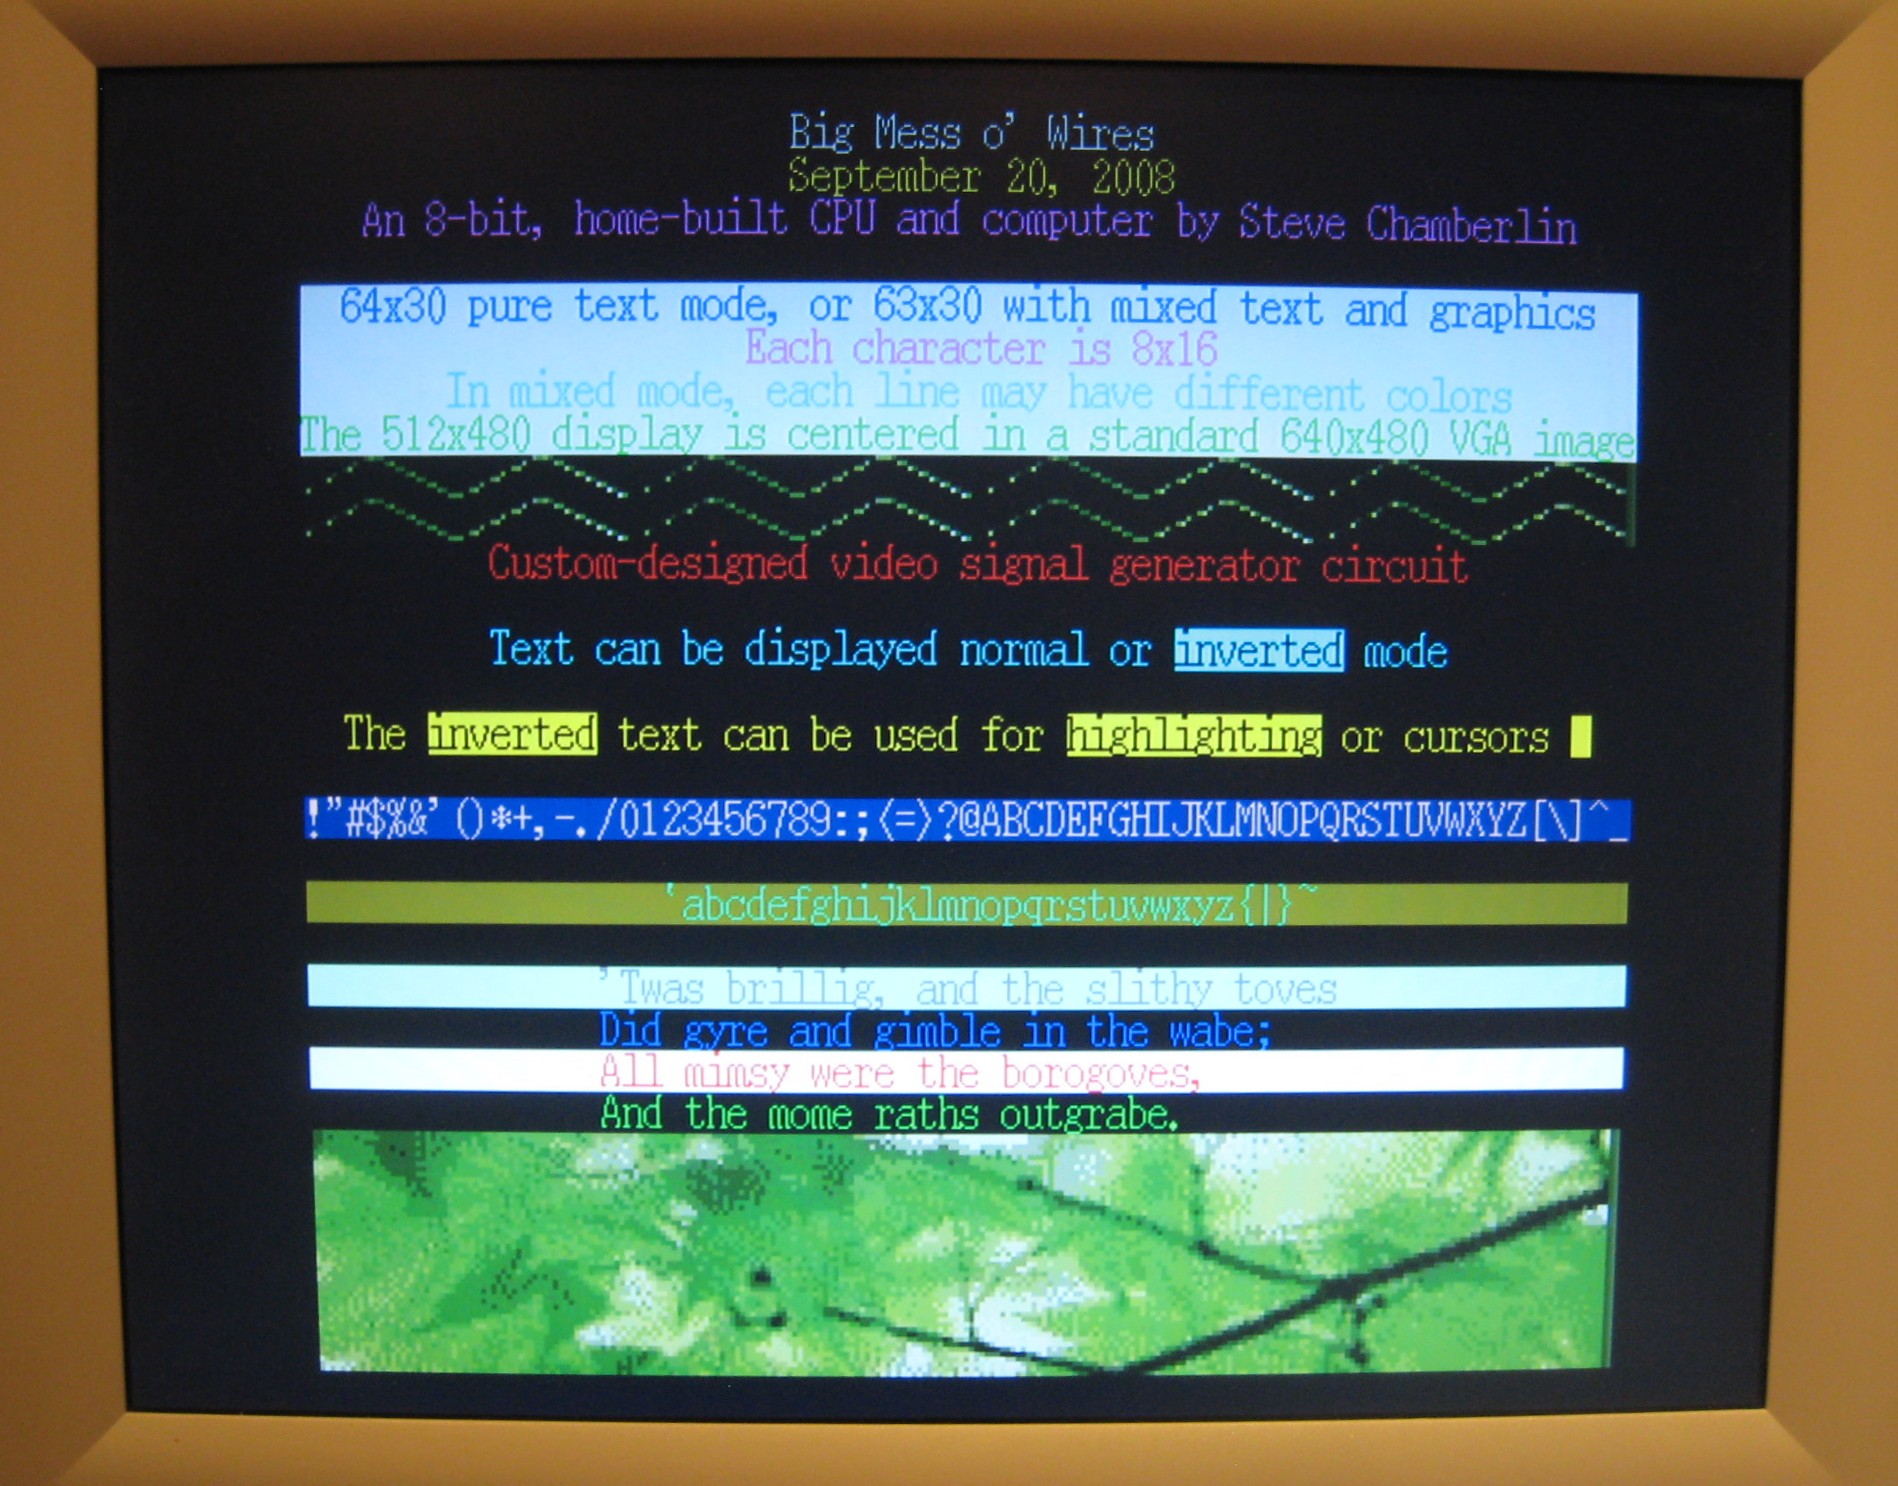
By using two bytes per line to control the video mode instead of to encode pixel data, the video display becomes much more flexible at the loss of a few pixels. Although there’s only a single 256 color palette, it’s possible to switch between different 4 or 16 color sub-palettes on a line-by-line basis for 2-bit and 4-bit lines. You can also select a different foreground and background color for monochrome lines, or switch between character mapped and direct bitmapped video. All this flexibility made the system twice as hard to design, and may not be especially useful in practice. I probably would have been better off without it, but it makes for a good demo.
I had intended to have all sorts of dynamically-generated lines, circles, triangles, and other shapes to show, but that proved to be a much bigger task than I’d expected. It took me a couple of hours just to debug the subroutine that renders the two zig-zag lines you see here! Apparently I’m not the world’s best assembly programmer… I added the 16 color image of leaves at the bottom to substitute for my missing shape parade.
It’s hard to appreciate the quality of the video from this photograph, but it really looks very nice. Pixels look sharp and solid, and colors are uniform. Some of the text looks a bit washed-out and fuzzy in the photo, but in person it’s quite crisp. I’m definitely happy with how it turned out.
I’m not sure where to go next with the video system or BMOW in general. Maybe a better font? Get the system monitor program running on the video display instead of the LCD? Truth be told, I’m getting kind of tired of this project, so I may move on to something else.
Read 5 comments and join the conversation25.175 MHz
Some good news on the video front: by modifying the pixel clock and playing with my LCD monitor calibration, video quality is dramatically improved. The pixel stretching stemming from my non-standard 512 pixel horizontal resolution is gone, and even the light/dark vertical noise bands are almost completely gone. Interestingly, it seems they both were manifestations of the same basic problem.
A standard VGA signal at 640×480 resolution has 640 pixels visible horizontally, but there are also an extra 160 “phantom pixels” not drawn on each line, which constitute the horizontal blanking interval. The duration of each line is therefore divided into 800 (640 + 160) equal time intervals of just under 40 ns each, and the continuously varying VGA voltage is sampled once during each of the first 640 intervals to determine the pixel color. In fact, the exact interval duration is 1 / 25.175MHz which is about 39.72 ns.
My problem was that I tried to generate a 512×480 resolution image (using a 20MHz pixel clock), which isn’t a standard VGA resolution. On a CRT monitor I think this would have worked fine: each line would be a continuously varying analog voltage, without any specific number of pixels horizontally. On an LCD monitor it mostly works too, as long as you’re not too picky about image quality, but I’m picky. The LCD monitor was sampling the VGA voltage every 39.62 ns, but I was changing that voltage every 50 ns (1 / 20MHz). So every few pixels, an output pixel’s VGA voltage would get sampled twice, and appear as two pixels on the LCD, creating this chunky stretching effect. And because the voltage sampling was out of sync with the voltage changes, I think the LCD monitor often “saw” voltage changes causes by transient switching noise, leading to the light/dark vertical bands.
I swapped my 20MHz pixel clock for a 25.175MHz one, reprogrammed the GAL that calculates the horizontal sync timing, and bingo! Text became nice and crisp, and the light/dark bands were much less noticeable. With a few minutes of fine-tuning the monitor calibration, I was able to nearly eliminate the bands entirely. So now the video was almost perfect.
I say almost perfect, because I’m still only generating 512 pixels, but now I’m using a 640 pixel clock. I fill up the other 128 pixels with black. In the first attempt, this meant that the left 80% of the screen was filled with my image, and the right 20% was empty. It looked pretty dumb. My solution was to simply center the image, so now there’s a black column down the left and right 10% of the screen, with the image occupying the center 80%. It still looks a bit odd, but it’s not too bad. The improvement in overall image quality is definitely worth it.
One bonus side-effect of switching to a 640 pixel clock is that I now have square pixels. 640/480 = 4:3 which is the standard aspect ratio for regular (non-widescreen) monitors, so it works out that each pixel is perfectly square. That may not seem to matter much, but non-square pixels are a pain to work with. They make images look distorted, or geometric shapes like circles appear like ovals instead. With square pixels now possible, the main rationale for the 512×400 and 512×200 video modes was eliminated. (I originally included it because it was closer to 4:3 than 512×480 was.) Those modes never worked quite right anyway– the monitor detected them as 720×400, leading to even more severe examples of the out-of-sync sampling problem I had earlier, with no solution other than to use a 720 pixel clock. I just eliminated those modes completely, and turned them into configuration options of the base 640×480 mode instead.
At the end of this all, I’m now generating a standard 640×480 VGA image, but only the center 512×480 is filled. The image can be configured one of four ways:
- 512×480, with one common color depth / text setting
- 508×480, with a separate color depth / text setting for every line
- 512×240, same as #1, but every odd line is a copy of the previous line, and greater color depths are possible
- 508×240, same as #2, but every odd line is a copy of the previous line, and greater color depths are possible
As soon as I can figure out what’s causing BMOW to sporadically freeze-up, I’ll put together some more interesting examples of mixed text and graphics, and post the screenshots up here.
Be the first to comment!Text Generation
BMOW is now text-enabled! I stole an 8×16 bitmapped font from the X11 font set, programmed it into my character ROM, and now I can do this:
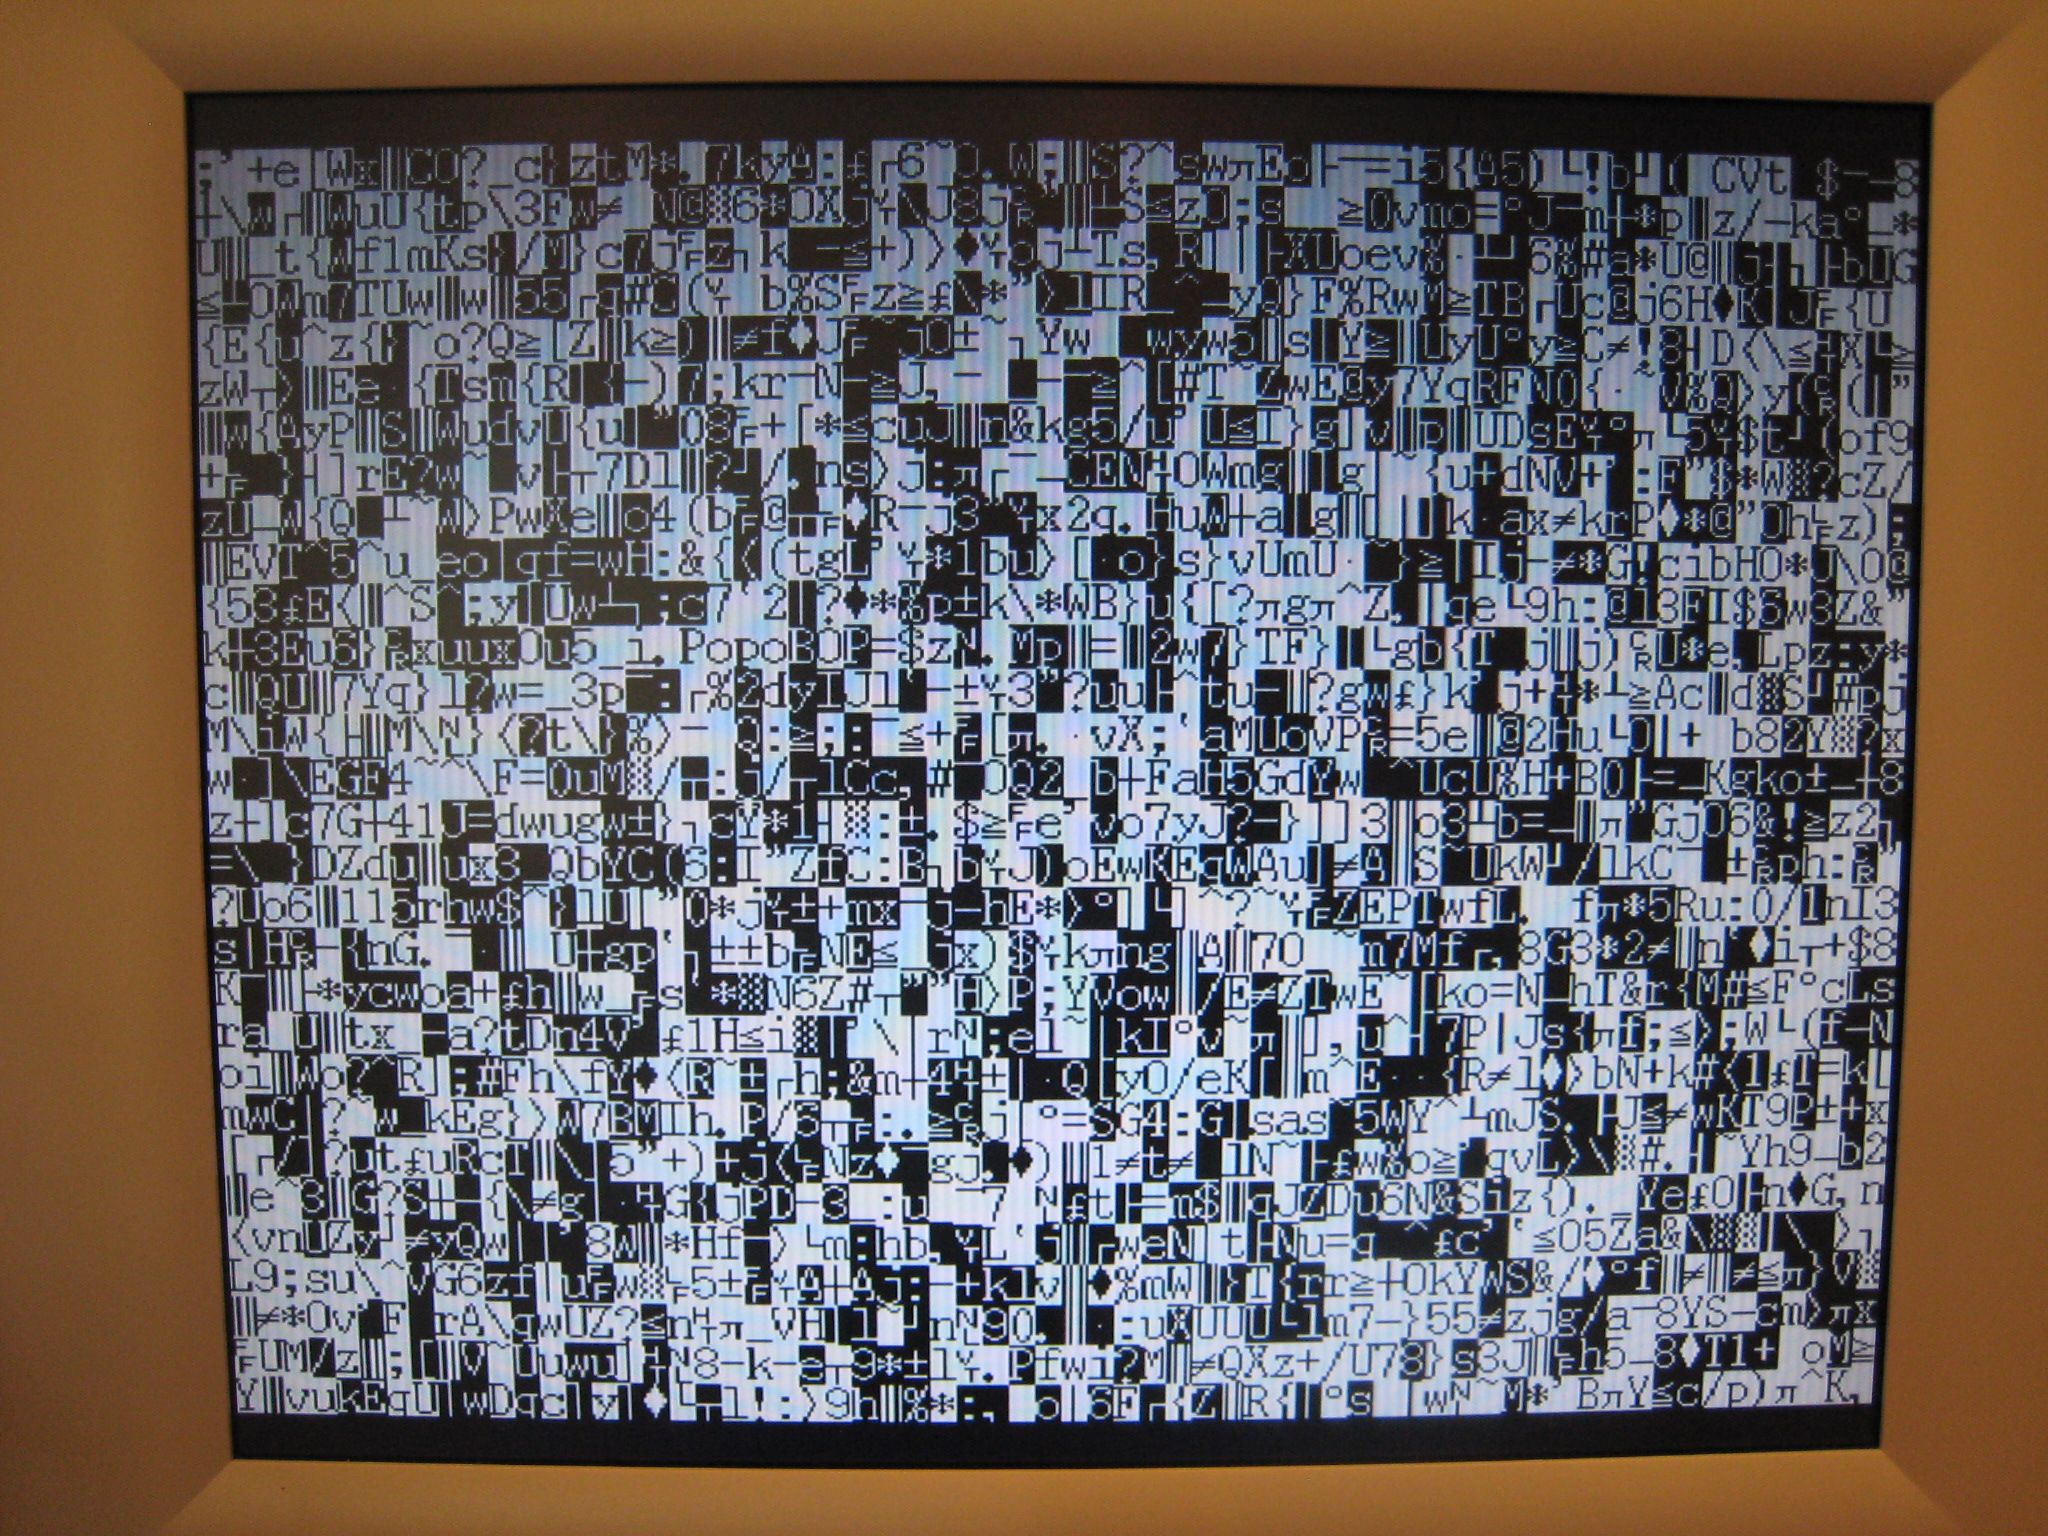
OK, it would be a more impressive demo if I actually wrote some specific text to the screen, instead of displaying garbage memory as text, but you get the idea.
There are 64 columns x 30 lines shown here. Each character is an 8×16, 1 bit-per-pixel bitmap stored in the character ROM. During normal video operation, bytes from video RAM are passed directly to the palette chip to be converted into colors. During text mode, however, the bytes from video memory are instead used to create an address for the character ROM, along with the least-significant 4 bits of the screen row counter. The correct character byte for the desired character and row is then retrieved and passed to the palette chip. There are 128 (7 bits) different characters possible. The 8th bit is used to invert the character, making it appear as dark on a light background. This can be used to implement a cursor, or create a highlight effect for text.
In this example, the whole screen is filled with black and white text. I’ll try some more complicated examples next. It’s possible to select different foreground and background colors for each line of text, as well as to mix some lines of text with some lines of graphics on the same screen.
Unfortunately a side-effect of my most recent text-related changes seems to be making BMOW extremely crash-prone. It frequently freezes up within a few seconds of power-on. If I remove the text-related subroutines from my boot ROM, the problem vanishes. Oddly, the problem happens if the text routines are in the boot ROM, even if I never call them. I think they’re pushing the system monitor program subroutines into a different address range in the ROM, which must be causing problems somehow.
A second problem is that my horizontal resolution of 512 pixels doesn’t scale well on my LCD monitor. The monitor thinks it’s a 640 pixel wide image, and does some kind of sampling and scaling accordingly, with the result that the text looks distorted. If you look carefully at the full-size version of the photo, and look for instances of the forward slash “/”, you’ll see that instead of looking like a smooth diagonal line, they look chunky, like an extra pixel were in the line. This is not an error in the font, and if you look at other examples of the forward slash, you’ll see that the extra pixels are in different places, or in some cases not present at all.
Maybe I just need to live with this. The only realistic solution I can imagine is to replace the video clock to generate a 512 pixel wide image with 640 pixel timing, with a 128 pixel black border at the sides. Updating the video system to generate true 640 pixel wide video would be too large of a change to attempt at this point.
Read 3 comments and join the conversationVideo Demo
Yarrgh, thar be pixels!
BMOW’s video system still has many minor issues to resolve, but the critical pieces are all working now. I can set up a video mode, poke bytes into video memory, and see pixels on the screen. I can even display digital photos. It’s almost like a real computer!
In a previous entry, I mentioned that I was having a problem losing VSYNC synchronization when reading or writing large amounts of data to video memory. I never did really find an explanation for that, but I did manage to stop it from happening. I think the problem was related to the mix of logic families among the parts in BMOW’s CPU. Most of the video system uses 74HCT series logic, because I had some idea it would be faster and use less power than the 74LS series parts used everywhere else. With the oscilloscope, I observed some crazy ringing that occurred when the 74HCT244 bus drivers turned on to drive the CPU address bus onto the VRAM address lines. I tried replacing the bus drivers with 74LS244s, and the VSYNC problem vanished. Strange, but I was happy to have a solution after having spent too many hours over several days on other failed attempts to solve the problem.
I then turned my attention to actually using the video system. Little by little, I puzzled together what bits I needed to stuff where in order to make something interesting happen. At first it took some time just to find a reliable way to set the video resolution and clear the screen. Did I mention that my design is way too complicated? Eventually I reached the point where I could set pixels at will, and then nothing could stop me. Here’s one of the early pixel tests, which I think is at 128×240 resolution @ 256 colors, showing the eight basic colors of black, red, green, blue, yellow, cyan, magenta, and white. This also demonstrated I could control the palette correctly.
(Click on the images below to see larger versions.)
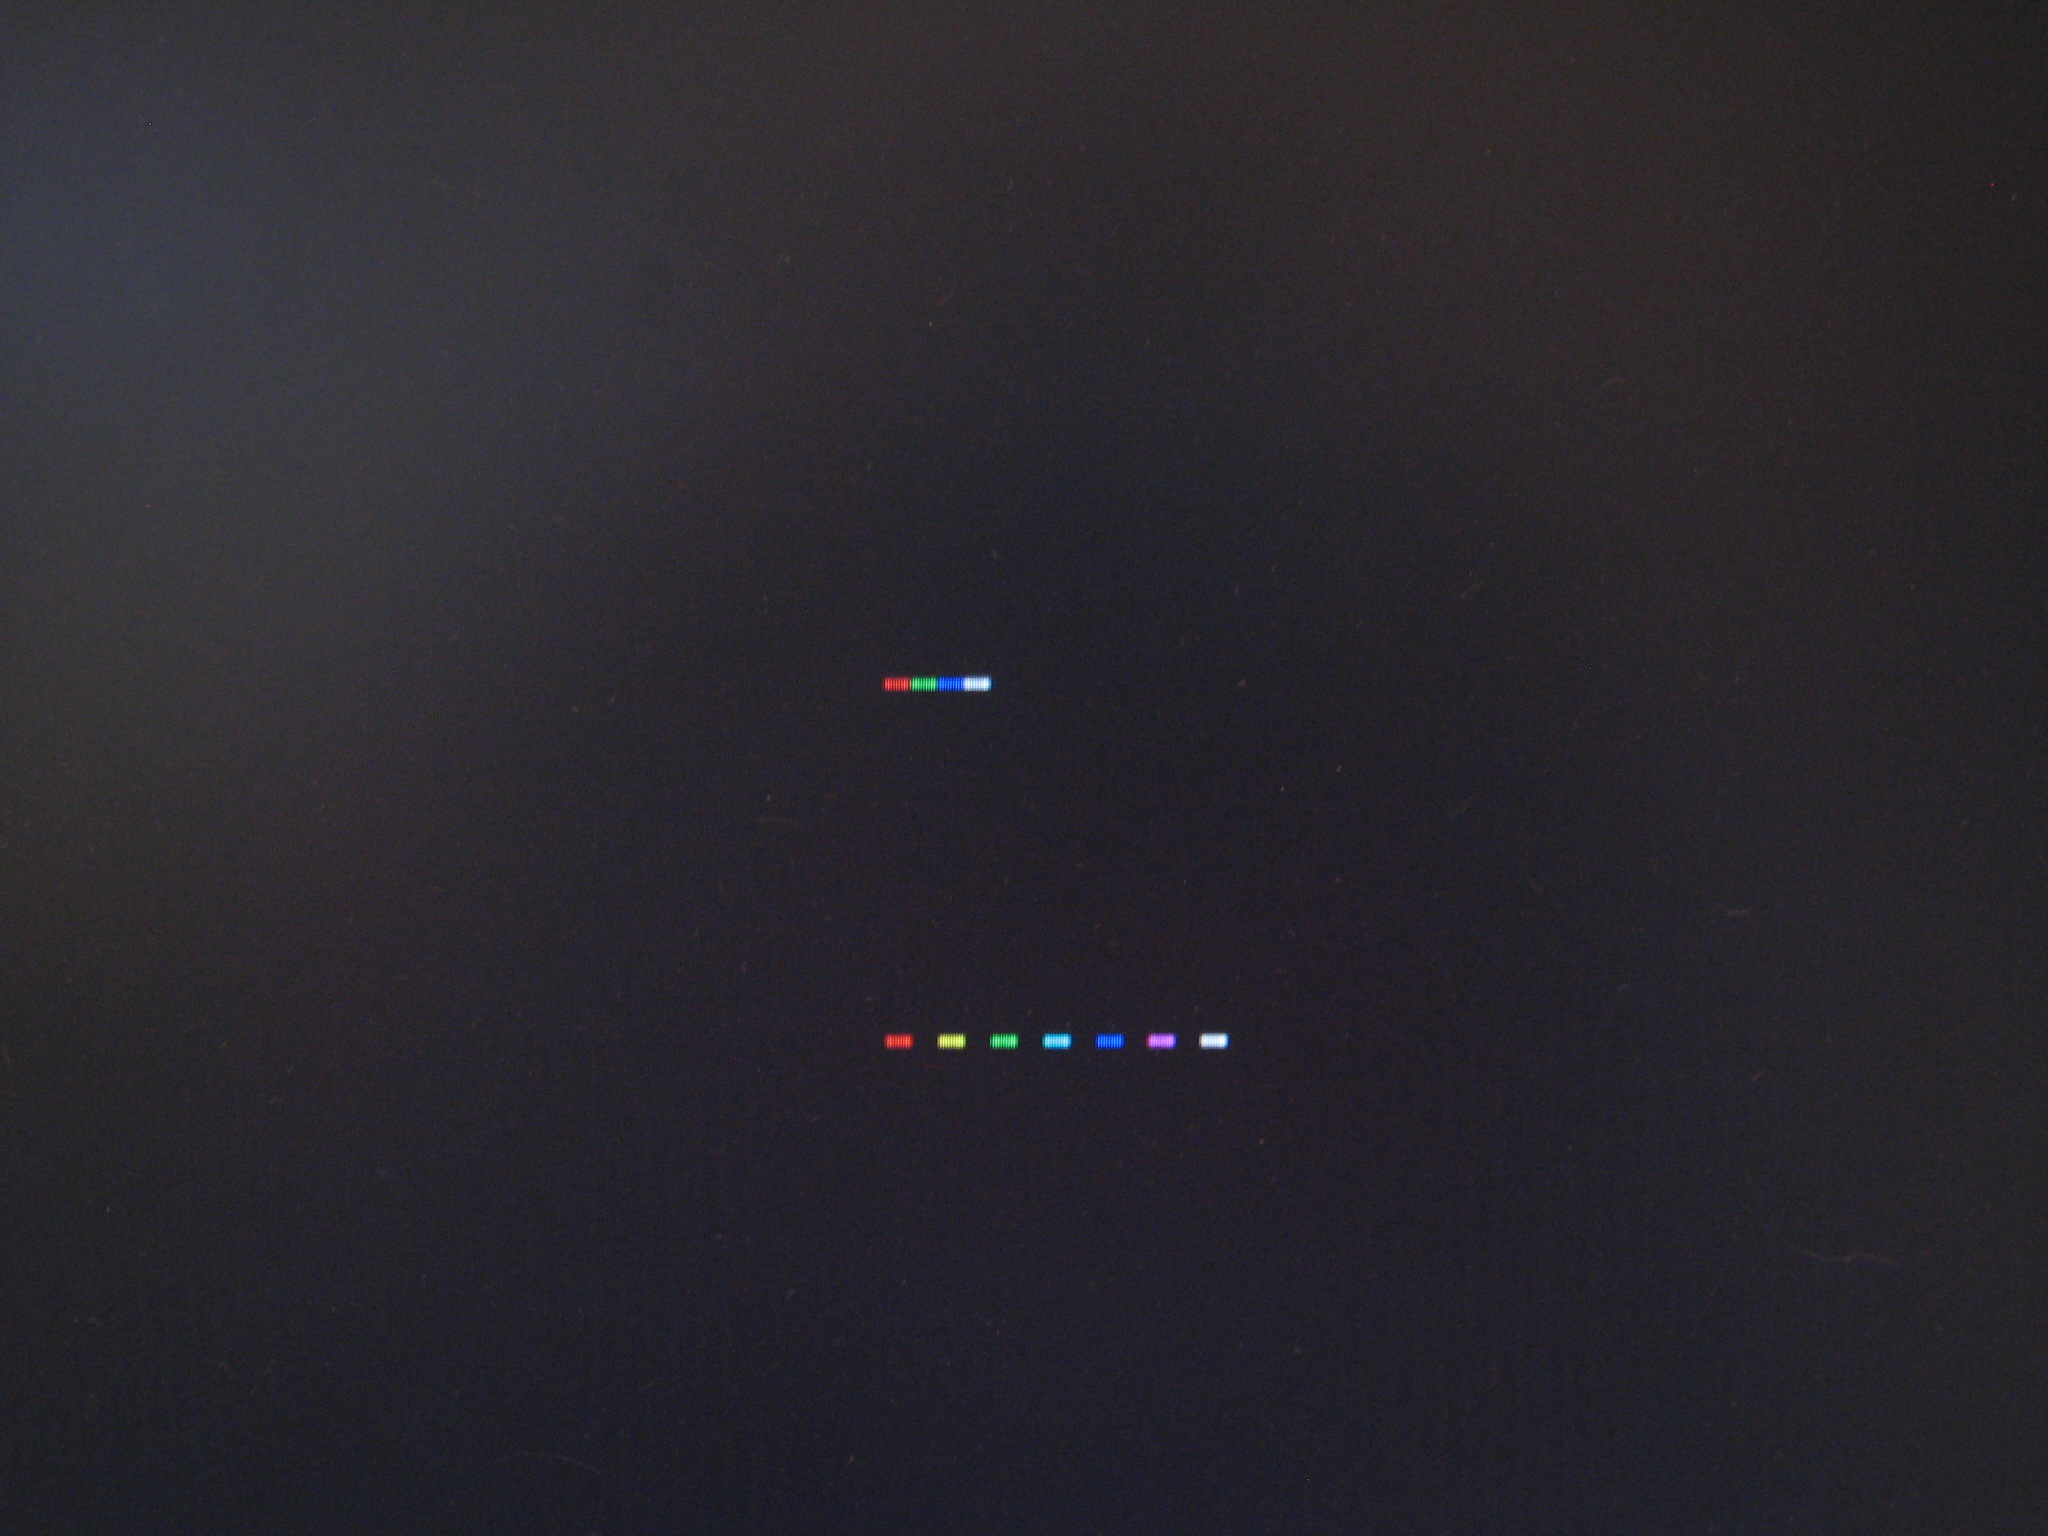
Here’s a color test, similar to the simulated color swatches I showed a few months ago, but this time running on the real hardware.

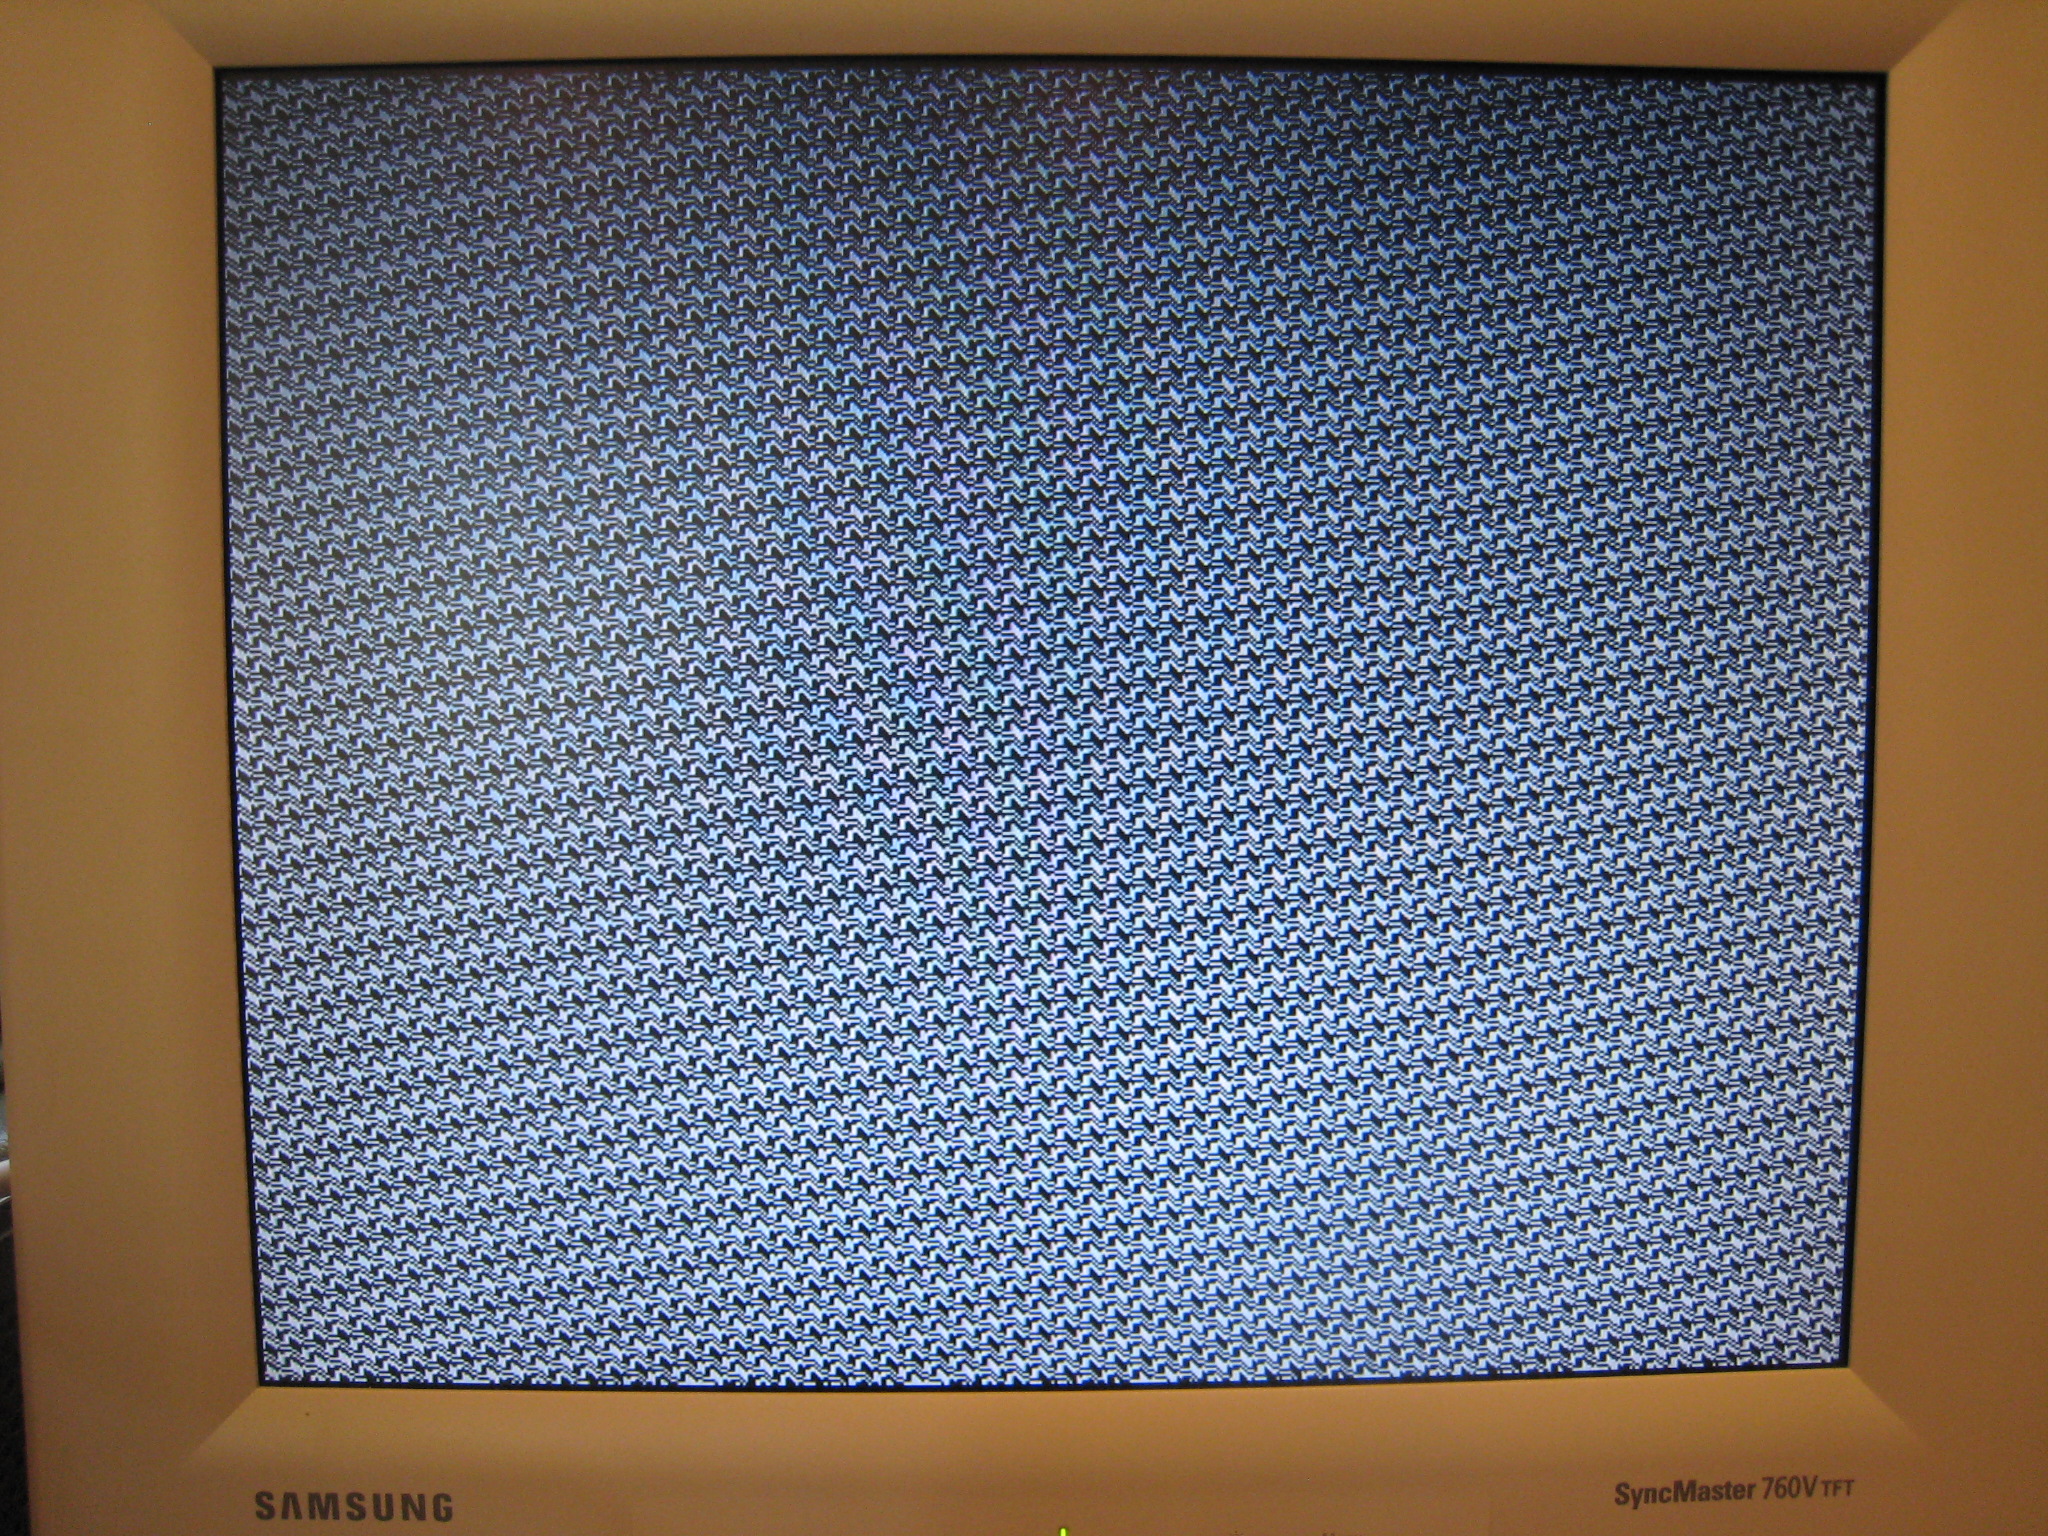
This random pattern at 256×480 @ 4 colors gives you a feel for the resolution possible at that color depth.
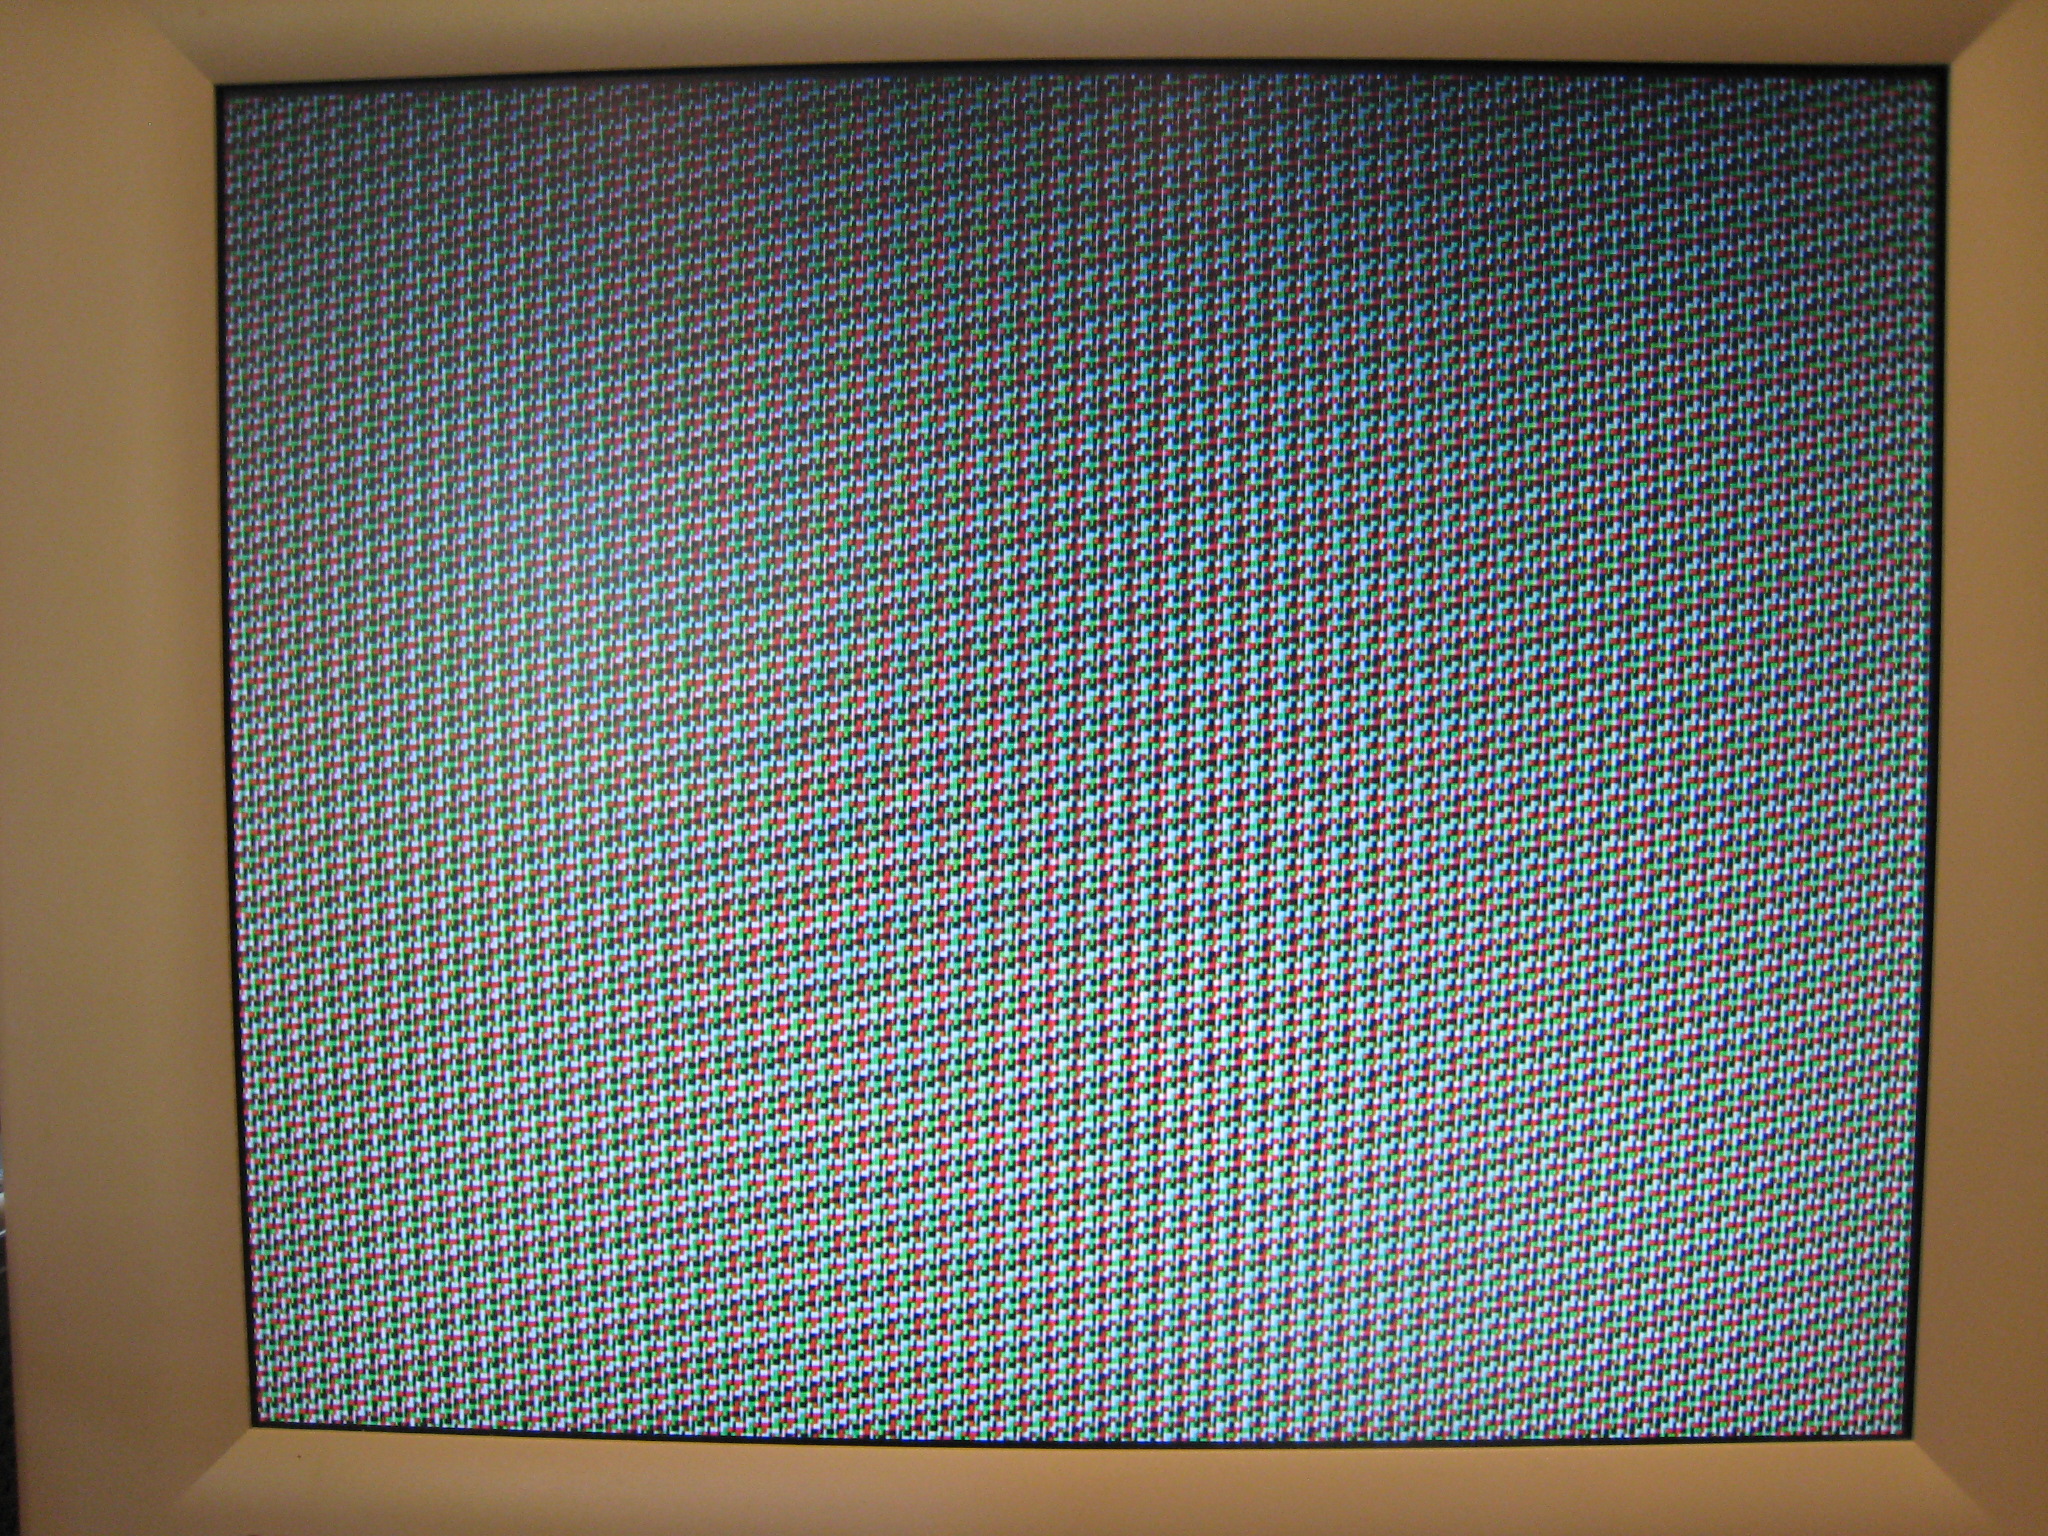
Here’s a similar random pattern in black-and-white at 512×480. It actually feels quite high-resolution, and should make it possible to create some very detailed (if colorless) images.
Random noise at 128×100 @ 256 colors, one of the comparatively few combinations of video settings that allow for nearly-square pixels.

This was my first test of importing a digitized image, in this case a photo of my daughter smeared with yogurt. The resolution of this image is actually limited by the size of my boot ROM, and not the video system. I only had 8K free in the ROM to store an image, which limited me to an image at 64×100 @ 256 colors. The video system supports up to 128×200 @ 256 colors, I just need to find a way to get the image data in there.
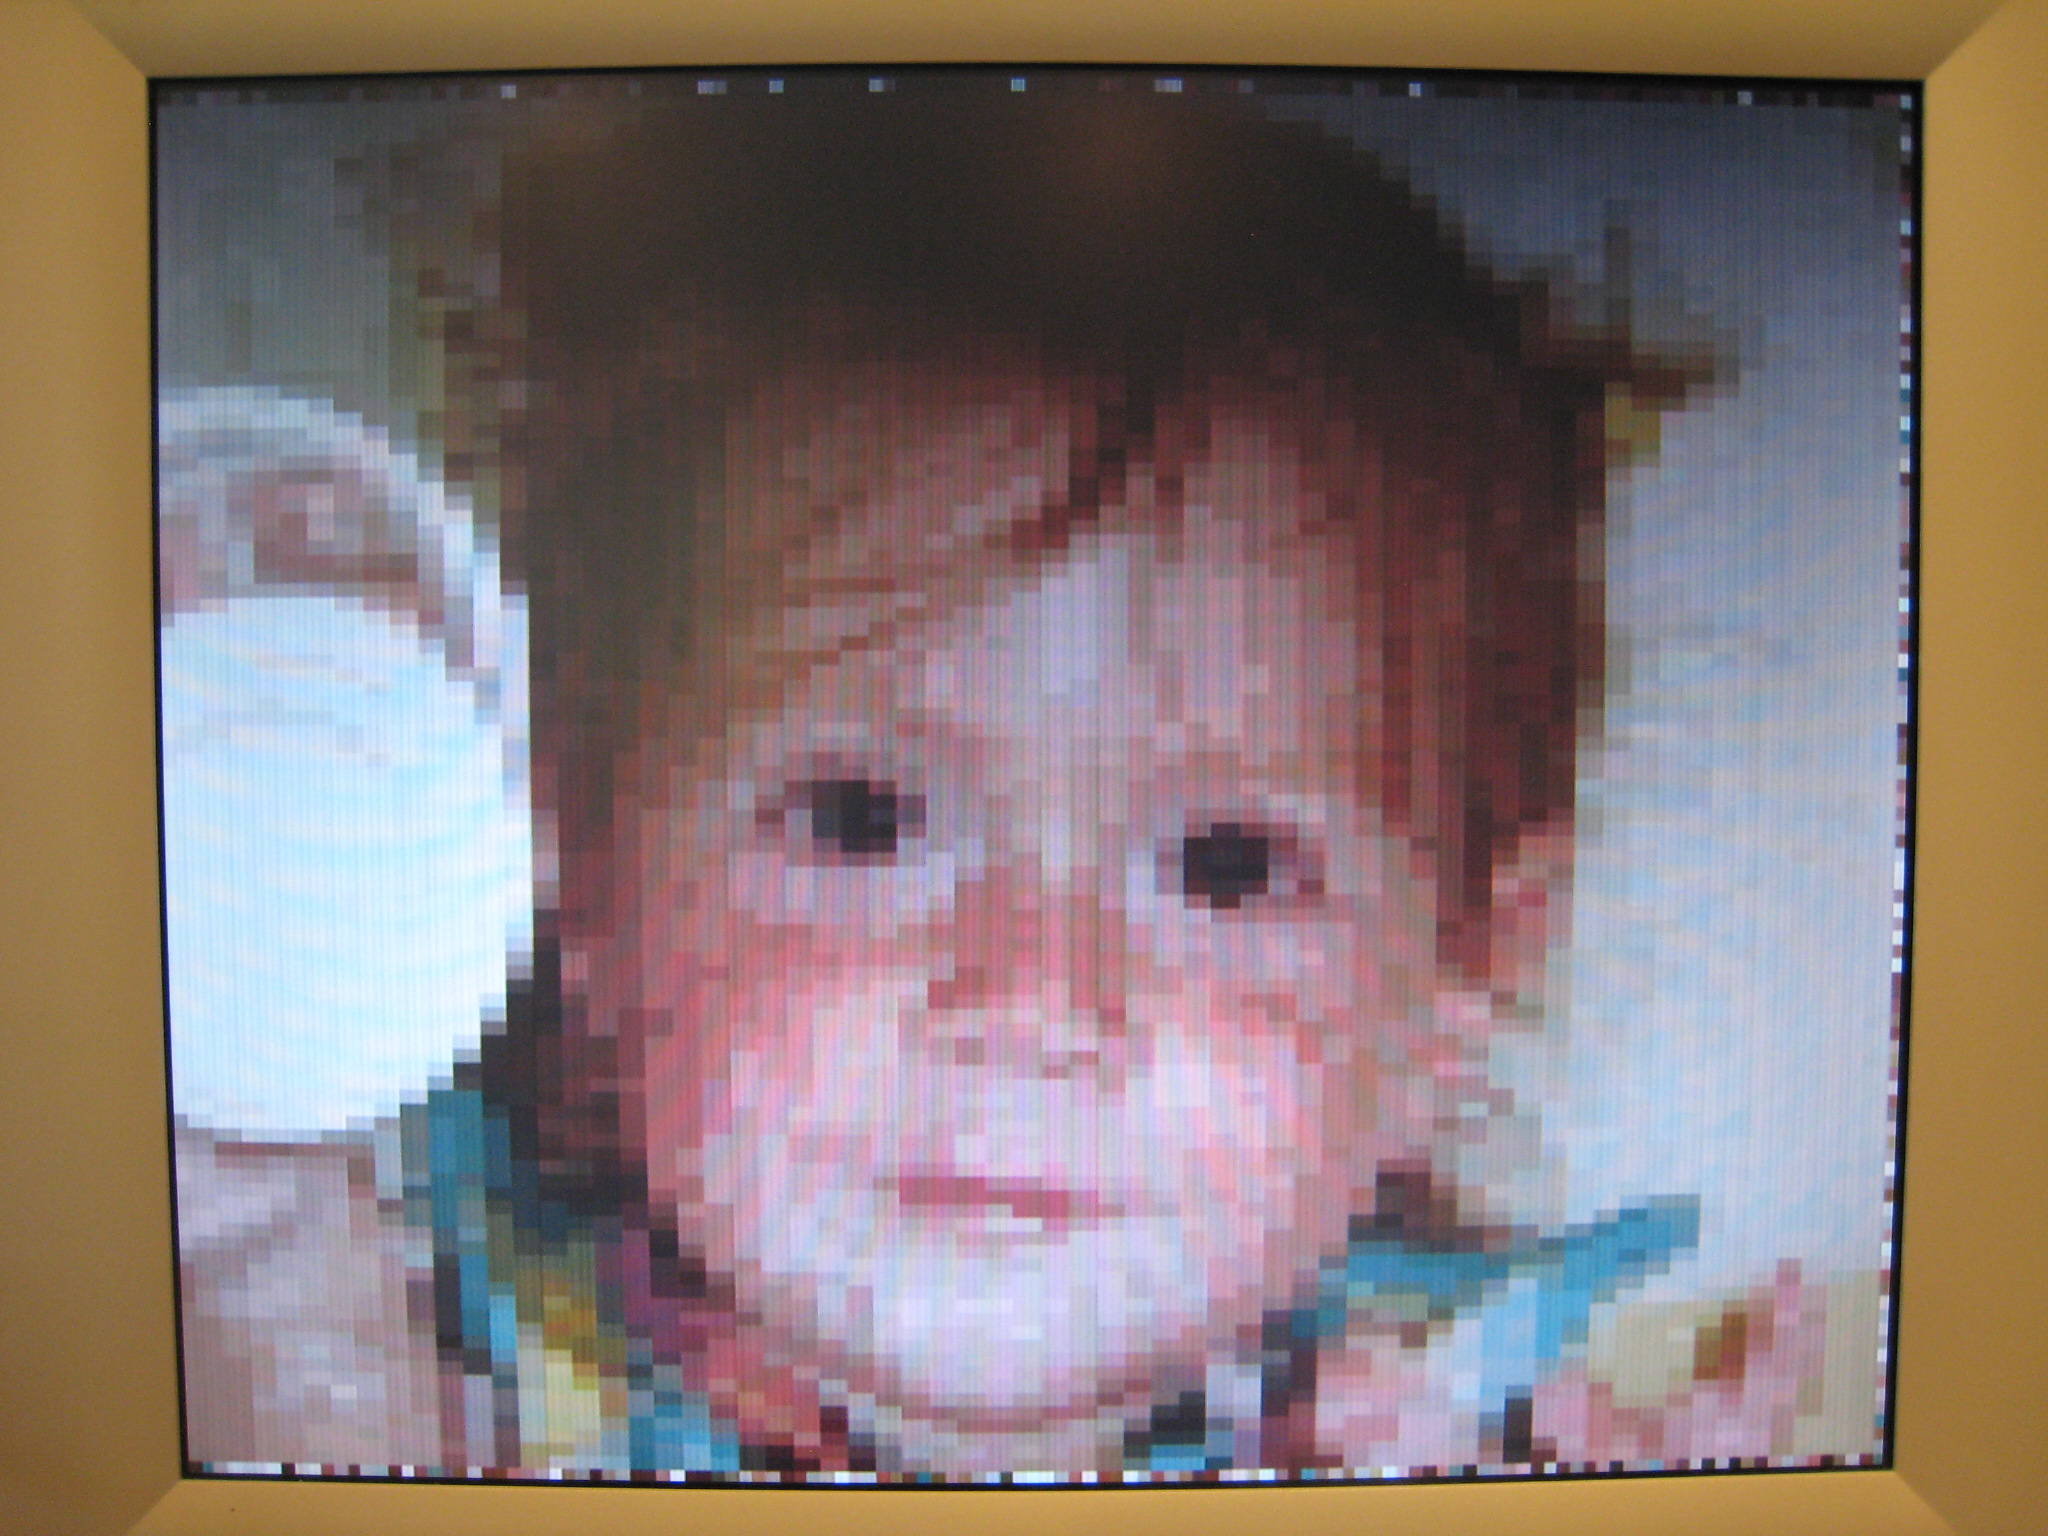
Eventually I went so far as to create a BMOW screensaver, with the 64×100 image of Becky bouncing around the 128×200 screen.
It looks decent, but it’s S-L-O-W. There are a couple of reasons for the slowness. The memcopy code I wrote to blit the image into video memory is pretty inefficient. With some care, and perhaps with some new instructions added to BMOW’s instruction set to help optimize memory copies, I think I could speed this up at least 2x, possibly as much as 10x.
The second reason for the slowness is more interesting. The screen saver waits for the vertical blank period at the end of each video frame before the CPU tries to alter video memory. So most of the time when the video subsystem is scanning memory and spitting out the image to the monitor, the CPU is idle, waiting. During the brief VBLANK period, if updates a few pixels, and then goes back to waiting when the next frame begins. This effectively cuts the video memory bandwidth to about 10% of what it would be otherwise, but it avoids contention from video memory between the CPU and video subsystem.
Here’s what the same screensaver looks like with VBLANK synchronization disabled. You can see that it animates much faster when the CPU isn’t waiting all the time, but it generates noise in the video image whenever the CPU makes a video memory access. The result looks pretty terrible.
I posted my “hello world” video test entry on June 24. That was a stand-alone test circuit using just five chips to create a low-resolution, fixed image. I honestly didn’t think it would take anywhere near this long to deliver on that proof of concept and get BMOW video working, but in retrospect there were quite a few challenges beyond simply getting something to appear on the monitor. The finished system interfaces with the BMOW CPU so the image can be updated on the fly, supports palletized color and dozens of different video resolutions/depths, and also boasts a character generator mode (not quite finished). I’m pretty happy with that set of features.
Read 11 comments and join the conversation