Floppy Emu Model C Case Assembly
These instructions are for the current generation (as of September 2020) sandwich-style acrylic case. Instructions for the previous generation flush-edged case are available here.
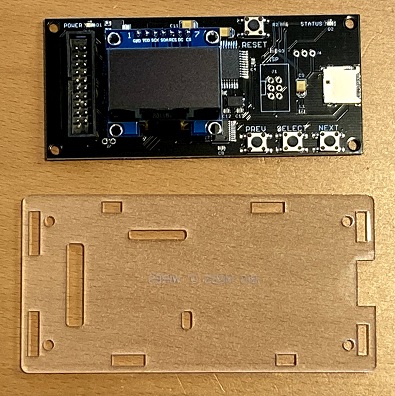
1. Lay out the acrylic case pieces on a flat surface. The pieces are covered with protective paper or film on both sides. Use a fingernail to scrape up one corner of the protective paper, then pull on the corner to remove the rest of the paper.
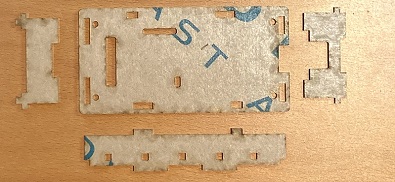
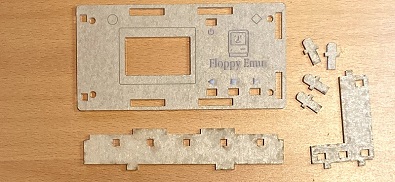
2. Confirm all the necessary pieces are present. Please note, the two long side pieces are interchangeable.
If your package also contains a 1 centimeter square piece, it is scrap and can be discarded.
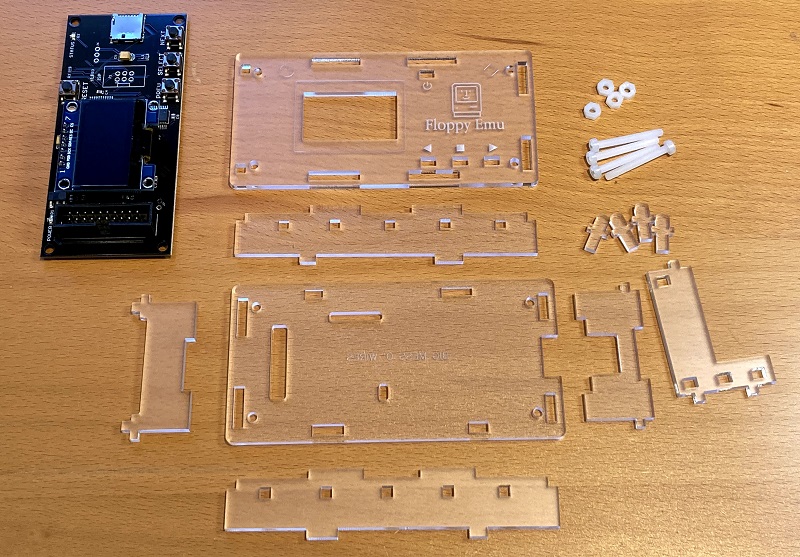
3. Position the bottom piece so you’re looking at its glossy surface, and its frosted surface is underneath. The two longest cut-out slots should be at the left and top. Place the Floppy Emu board onto the bottom piece. Ensure the board is oriented correctly: the solder bumps on the underside of the board should fit into the cut-outs in the bottom piece.
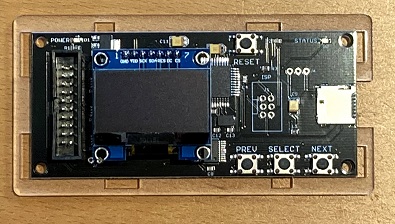
4. Press the four side pieces into place, surrounding the Floppy Emu board.
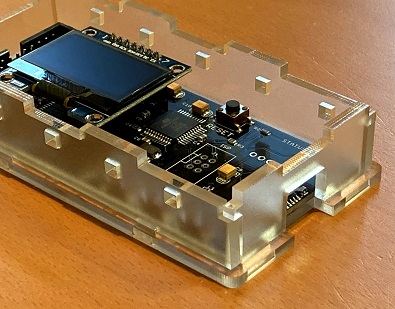

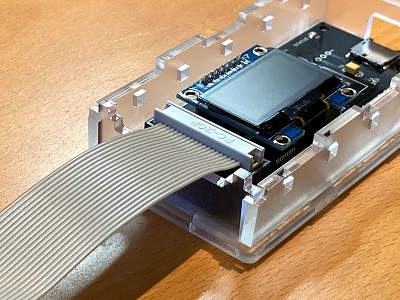
5. Plug the ribbon cable into the board.
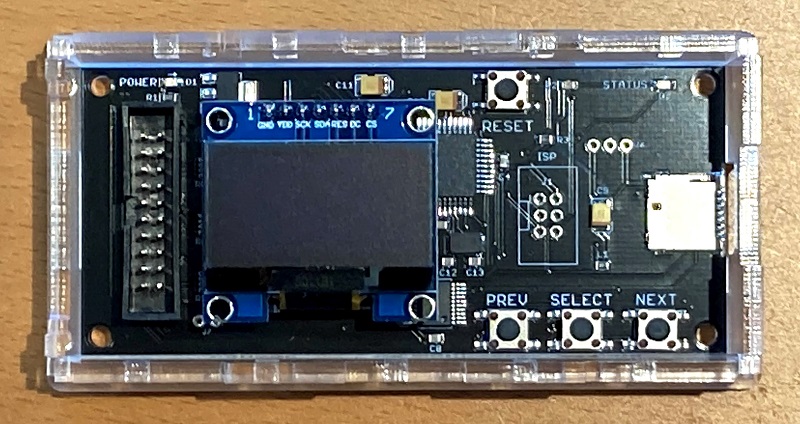
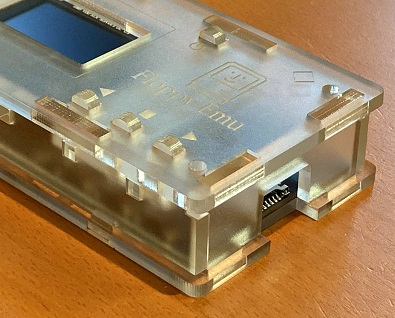
6. Snap the button guide into place. The tabs at the ends of the button guide fit into the square holes in the long side pieces. The rectangular openings in the button guide should be positioned directly over the buttons on the Floppy Emu board.


7. Place the four button plungers into the openings in the button guide. Ensure the button plungers are standing straight, not angled or leaning over.

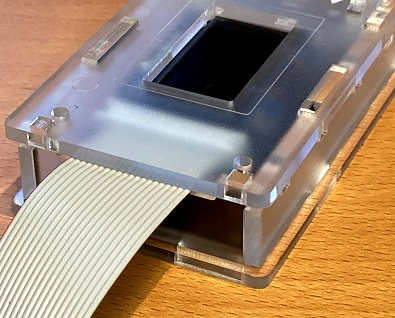
8. Carefully lower the top piece down onto the other pieces, until the top snaps into place. If you have difficulty getting everything aligned, focus on aligning the top piece with the button plungers first, until the plungers poke through the openings in the top piece. Then while maintaining pressure on the top piece, push or pull the side pieces as needed until their tabs snap into the openings in the top.

9. Insert screws into each corner hole and secure them with nuts. You’re done!