

BadUSB and the Hidden Microcontroller
BadUSB – what is it, and why is it scary? If you know something about microcontrollers and low-level electronics, the import of the recently-published BadUSB vulnerability is obvious and alarming. It destroys our nice little abstraction of external data storage being just a huge buffer of bytes, and reveals the microcontrollers and other control mechanisms underpinning it. And as it turns out, those control mechanisms have some properties that can turn them into a virtually unstoppable malware juggernaut.
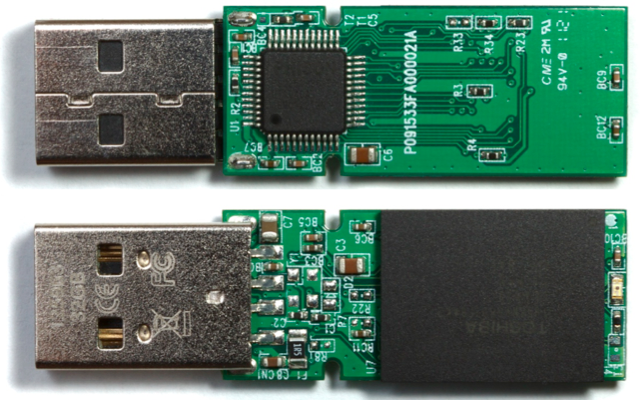
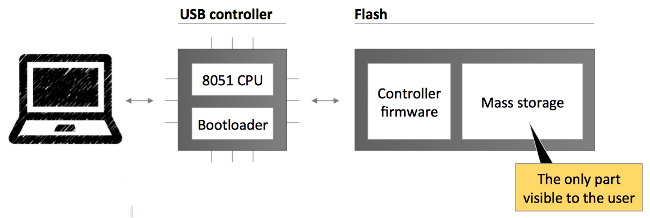
On every USB device from keyboard to thumb drives to web cameras, there’s a simple microcontroller that runs the hardware. It’s this microcontroller that actually talks to your PC, and processes keystrokes or fetches data from flash memory. Normally this microcontroller is invisible to the operating system and any programs running on the PC: they just send USB commands to the device, and get USB data back. The microcontroller is the invisible man in the middle, executing those USB commands.
Like your Arduino or any other microcontroller, the microcontroller on a USB device has its own simple control program called firmware. The firmware is authored by the USB device manufacturer, and is typically stored in a special non-volatile buffer in the microcontroller itself. But just like your Arduino, this firmware can be updated. And here’s where it gets scary.
A traditional piece of malware might scan your attached USB devices, looking for any that use a particular controller chip it knows how to infect. When it finds one, this malware could silently update the microcontroller firmware on that device. If the device is a USB thumb drive, the modified firmware might include a new behavior that does on-the-fly modification of every file retrieved from the thumb drive’s mass storage memory, attaching a virus. Boom! That thumb drive will now instantly infect any computer it’s plugged in to. But unlike a virus stored as a regular file in mass storage, it can’t be deleted. Erasing or reformatting the contents of the thumb drive will have no effect.
OK, that sounds bad. But maybe anti-virus programs could be upgraded to scan the firmware on attached USB devices and look for known evil USB firmware. Sounds good, but it’s not possible. The firmware of a USB device can typically only be read back with the help of that same firmware, if at all: A malicious firmware can spoof a legitimate one. For all practical purposes then, evil USB firmware is undetectable.
The range of possible exploits from evil USB firmware is very broad, and silently attaching a virus to every file retrieved from mass storage is just one example. Because the evil USB firmware can identify itself as a different type of device than it truly is, or even as a hub with multiple fictional devices, all sorts of crazy scenarios are possible. The researchers who first published the vulnerability described several possible exploits, including generating fake keyboard/mouse input, stealing passwords, redirecting network traffic, and even breaking out of a virtual machine.
At present, there appears to be very little that anyone can do to protect against this vulnerability, to detect it, or to remove it. A true fix would require a fundamental change to the way USB devices operate, and even then billions of older USB devices would remain vulnerable for years to come.
Read 1 comment and join the conversationLEGO Case for Floppy Emu

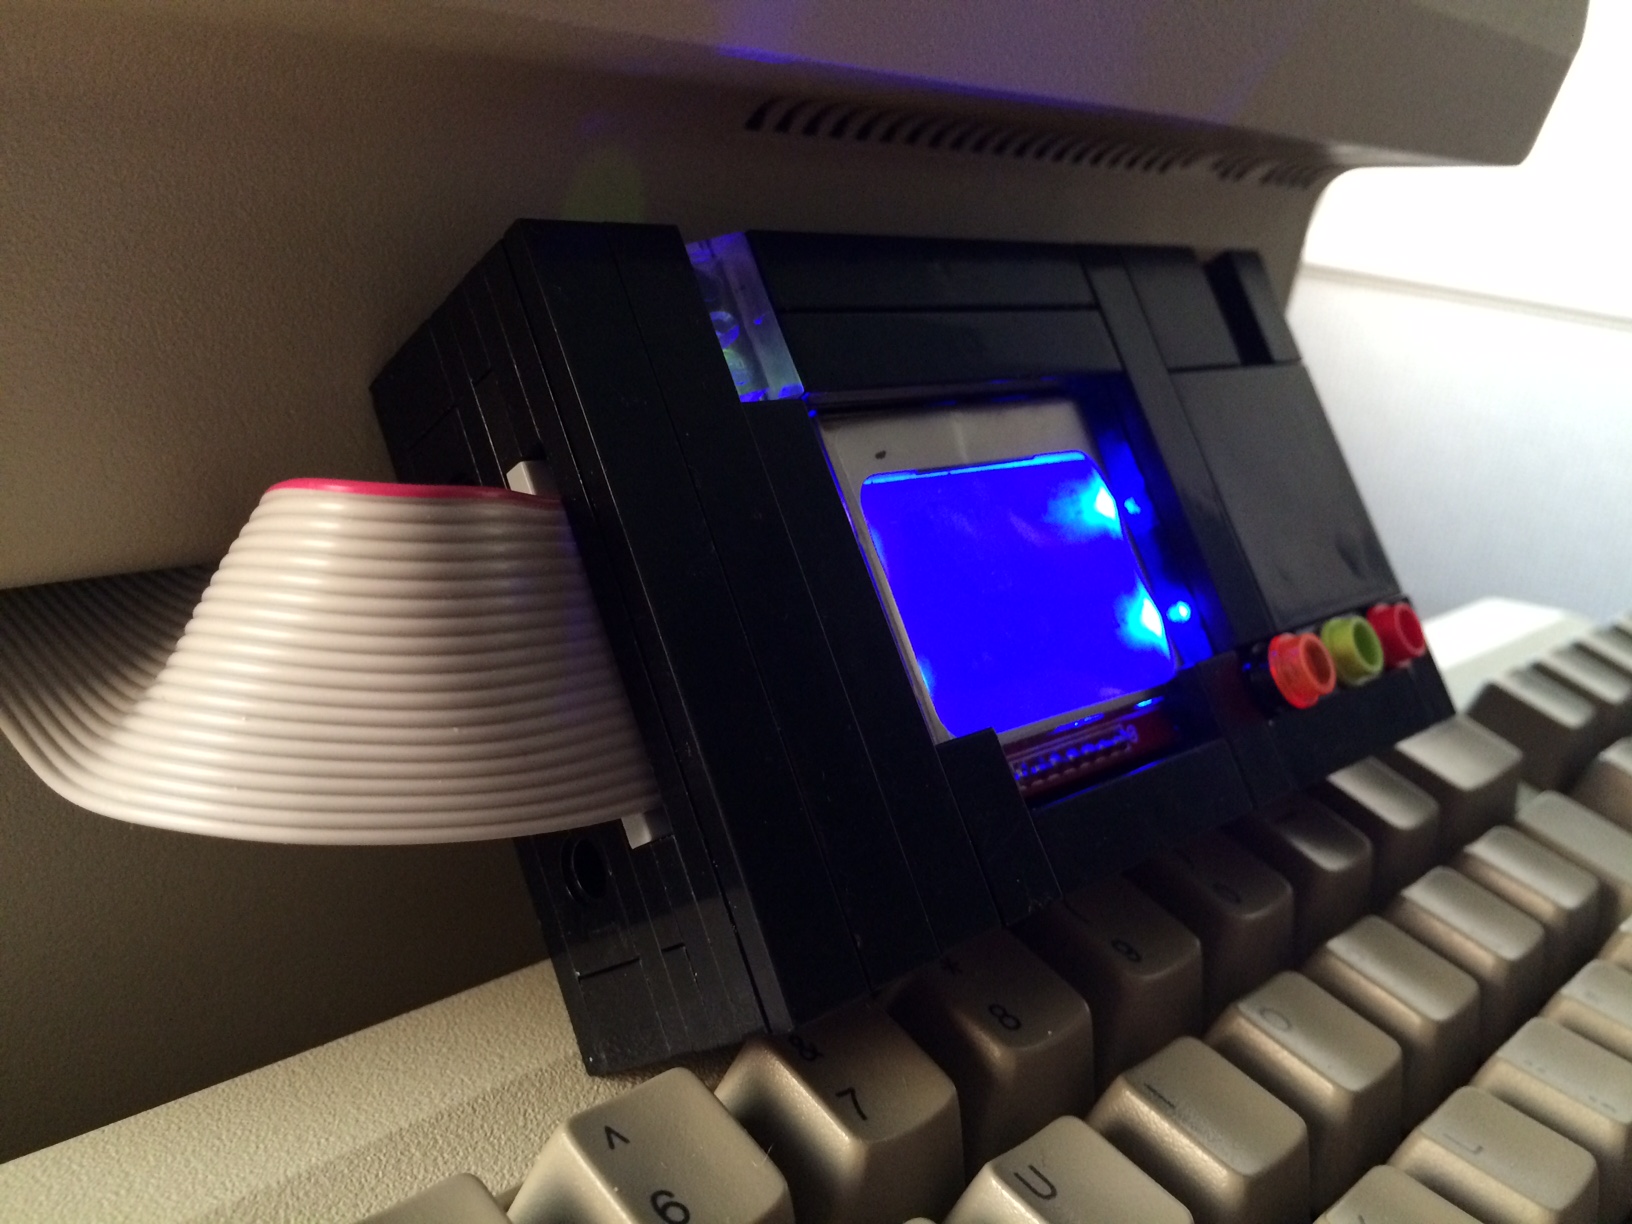
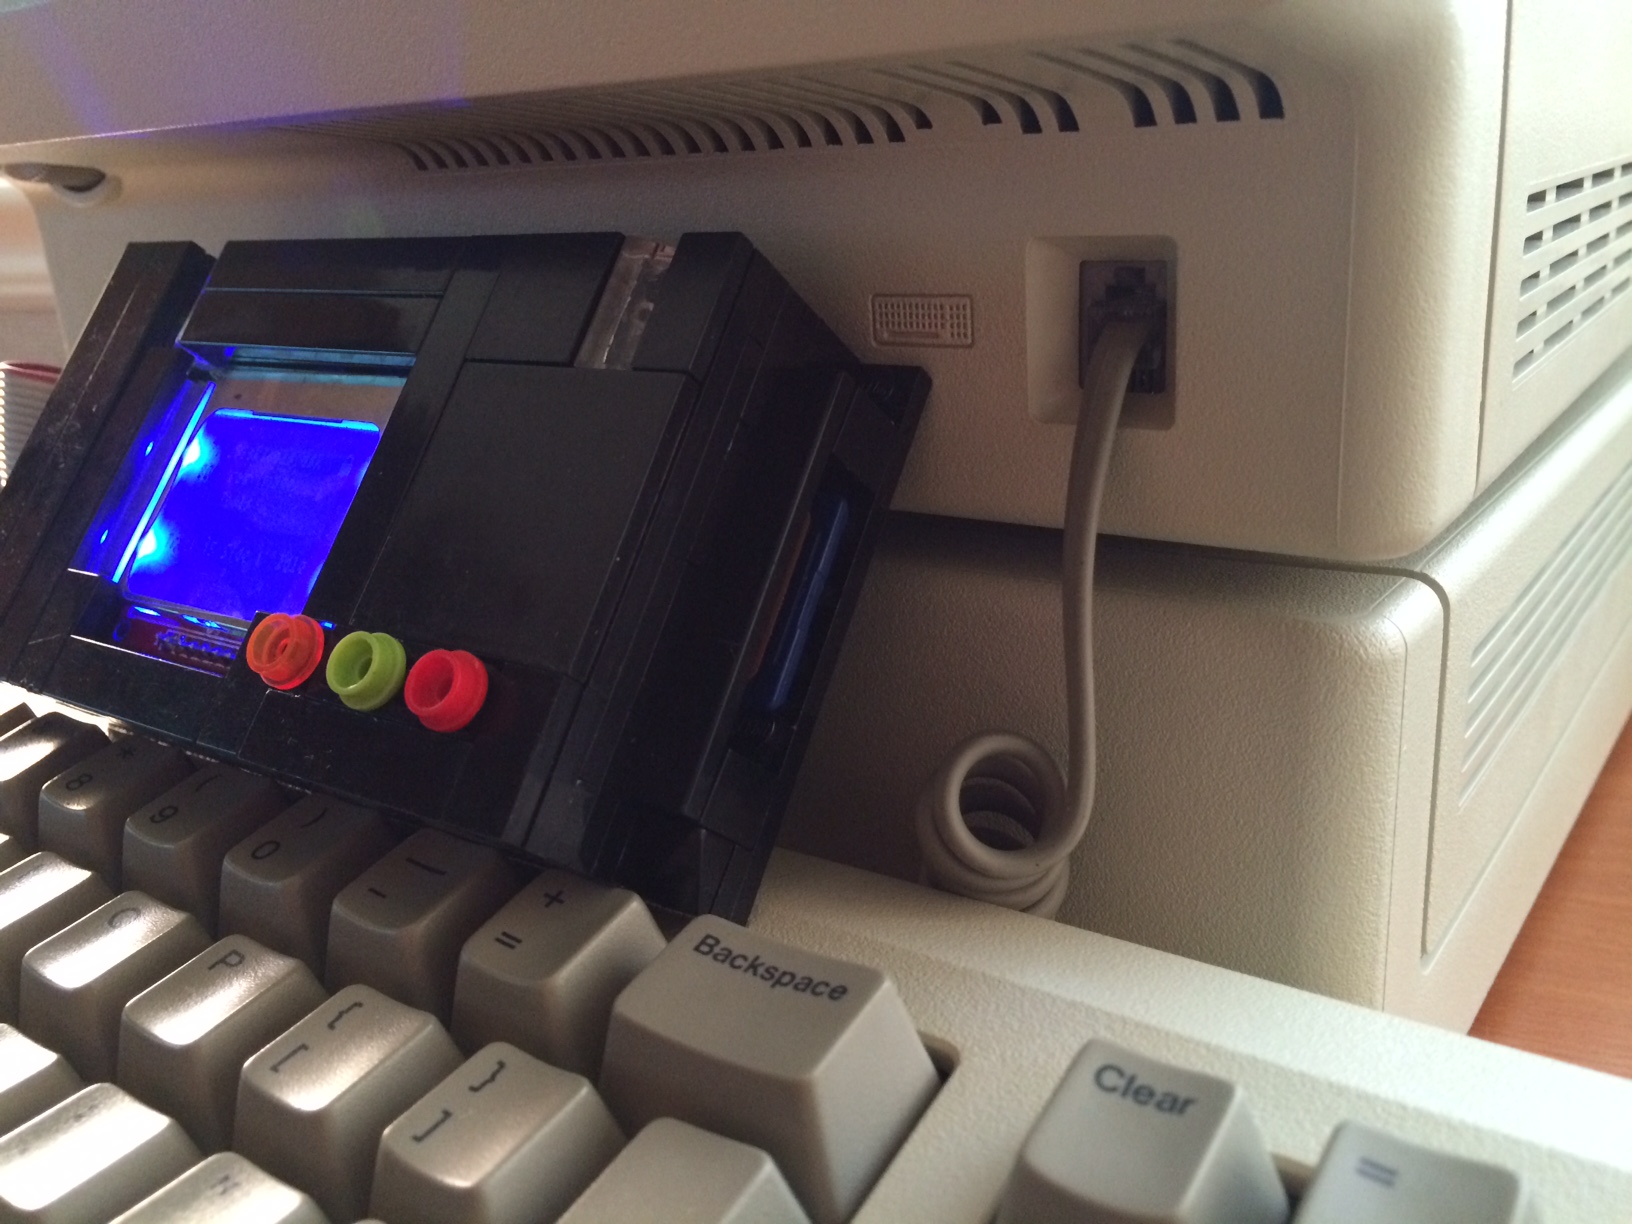
Chris Siegle has designed an amazing Floppy Emu case made entirely out of LEGO bricks! The case features LED “light tubes” and working buttons. Step-by-step build instructions are here. Thanks Chris!
I, For One, Welcome Our New Raspberry Pi Overlords
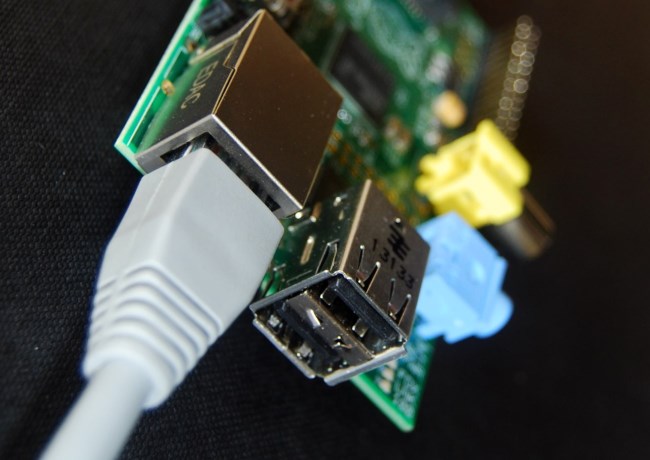
%#@&$! Raspberry Pi! I’ve been a Raspberry Pi hater since they first appeared on the electronics hacking scene a few years ago. I had no strong reason for disliking the Pi, but something about it just bugged me. It was too cute and trendy. It felt like a new kid forcing its way into the clubhouse of ATMegas and PICs and Propellers, trampling everything with well-meaning but misplaced enthusiasm. The media portrayal of the Pi bugged me too. It was constantly compared with the Arduino, but the Pi isn’t even really the same class of device. It’s a full-on desktop computer, with a Linux operating system, USB mouse and keyboard, ethernet, and HDMI video. I thought it would make as much sense to write articles comparing Arduino to the MacBook Air.
Part of my dislike for the Raspberry Pi was also a grumpy old man conviction that it was just too easy. “Back in my day,” I’d say, “we didn’t have your fancy operating systems and scripting languages and network adapters. If we wanted to code on an embedded microcontroller, we had to use bootloaders and cross-compilers and bit shifters and registers named UCSR1A. Now get off my lawn!”
You can probably guess where this is going: I finally gave in to the march of progress, and built some experiments with a Raspberry Pi. And despite my initial reticence, I have to say that Raspberry Pi tastes pretty good!
A First Taste of Raspberry Pi
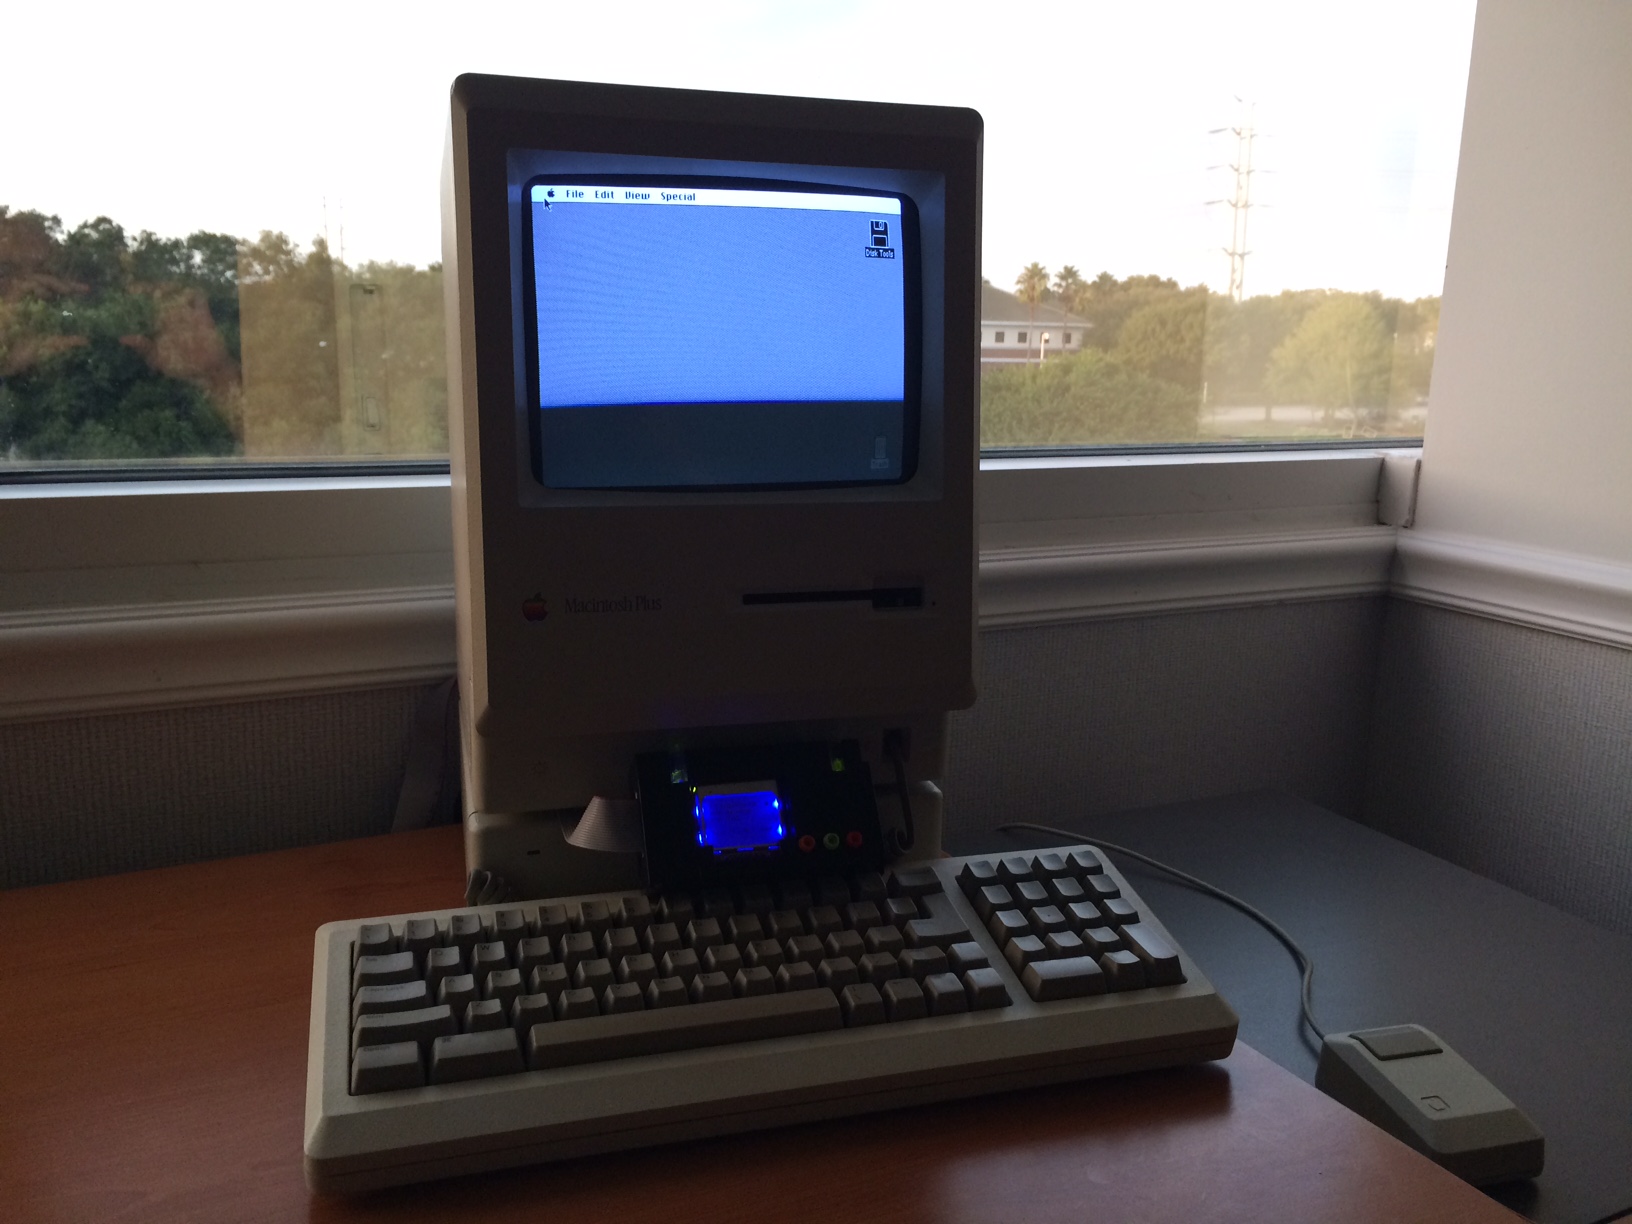
My first Pi project was an electronic symphony orchestra, derived from an article in Make Magazine. I connected a few external pushbuttons on a breadboard, and wrote a Pi program to play various instrument sounds when the buttons are pushed. I also created an on-screen GUI showing what instruments are currently playing, and you can click on an instrument’s picture to make it play through the UI. Pretty neat! Maybe it could evolve into some kind of Pi-based jam box.
So how is Raspberry Pi development similar to working with a PIC or ATMega (or the ATMega-based Arduino), and how is it different? What kinds of projects are best suited to each platform?
Both the Pi and the Arduino are self-contained computing boards, about the size of a deck of playing cards, with a price around $30. Both have a bunch of general-purpose I/O pins that can be connected to external buttons, LEDs, sensors, LCD screens, motors, etc. Manipulating those I/O pins from software is easy on either platform:
GPIO.setup(10, GPIO.OUT) # configure pin 10 as an output

while True:

  GPIO.output(10, True) # LED on

  time.sleep(1)

  GPIO.output(10, False) # LED off

  time.sleep(1)
Arduino LED blinking, in C
pinMode(10, OUTPUT); // configure pin 10 as an output

while (true)

{

  digitalWrite(10, HIGH); // LED on

  delay(1000);

  digitalWrite(10, LOW); // LED off

  delay(1000);

}
Looks similar enough, although the preferred programming language for Raspberry Pi development is Python, rather than C. It’s certainly possible to write Pi programs in C, but you’ll be swimming against the current, as virtually every common Pi library and example project is Python based.
While these code snippets appear similar, look beyond the LED blink example and you’ll discover that developing for the Raspberry Pi is a completely different experience from the Arduino. With the Arduino, you write your program using an editor that runs on a Mac or PC. Then you push a button, and your code is sent over a cable to the connected Arduino, where it runs. Contrast this with the Raspberry Pi, where you can write your program using a graphical editor running on the Pi itself, in a full-blown Linux operating system. You can hook the Pi to an HDMI monitor, or view its virtual display using remote desktop software.
The significance of having a tiny but full-featured computer may not be clear from an LED example, but how about playing a sound when a button is pushed?
GPIO.setup(10, IN) # configure pin 10 as an input

trumpet = pygame.mixer.Sound("trumpet.wav") # load the sound file

while True:

  if GPIO.input(10) == True: # is the button pressed?

    trumpet.play() # you're Louis Armstrong!
Arduino Sound Trigger
// buy a wave shield?
How about logging an 8-bit digital sensor value to a web server every 60 seconds?
for i in range(8):

  GPIO.setup(10+i, IN) # configure pins 10-17 as an inputs

while True:

  time.sleep(60)

  sensor = 0

  for i in range(8): # build a byte from the 8 input bits

    sensor = sensor * 2

    if GPIO.input(10+i) == True:

      sensor += 1

  url = "http://api.mylogserver.com/logdata.php&value=" + str(sensor) # log it using HTTP GET

  response = urllib.urlopen(url).read()
Arduino Sensor to Web Logger
// umm...
How about any kind of physical computing project that can benefit from easy access to sound, video, USB, a file system, or internet? Send a tweet when your toast is ready. Stream data from an SD memory card to a GPS chip. Use a mouse to control a robot. All these things could probably be done with a traditional microcontroller like an Arduino too, but would need extra hardware and complicated software. The Raspberry Pi makes this kind of work easy – almost too easy. And I didn’t even mention the huge advantage in RAM space and CPU speed that it has over traditional microcontrollers. It’s not hard to see why the Raspberry Pi has become so popular. Yes the Pi is overkill for many simple projects, but if it’s no bigger nor more expensive than the alternative, why not?
Arduino – It’s Not Dead Yet
For all the advantages of the Pi, there are still some situations where a good old Arduino or bare ATmega or PIC makes more sense. If your project has time-critical behaviors or requires specialized low-level hardware functions then you’re probably better off with an Arduino. An Arduino program is the only thing running on that hardware, so you can rely on fast, deterministic timing of I/O events. If you need to set pin 10 high exactly 20 microseconds after pin 9 goes low, you can do it on the Arduino, but the vagaries of the Pi OS’s task scheduling prevents this kind of precision. Likewise if you want something like super-fast pin change interrupts, a hardware watchdog, or advanced use of serial protocols like I2C, the Pi isn’t the best choice.
If you need a device that’s “instant on”, then you’ll be disappointed with the Raspberry Pi. An Arduino based project can be up and running within milliseconds after the power is turned on, but my Pi takes about 40 seconds to boot. Then it dumps me to a login prompt, and finally I have to run my program manually from the command line. You can edit a config file to skip the login and auto-start a specific program after boot-up, but it’s a little cumbersome and you’ll still be waiting 40 seconds.
Need analog inputs? Too bad, because the Pi doesn’t have any. You can use external solutions like this 8-way A-to-D converter with SPI interface, but reading an analog sensor is definitely more hassle on a Raspberry Pi than an Arduino.
What about battery-based projects? In sleep mode, the power consumption of an ATmega microcontroller can be tiny – in the microamps range. My Backwoods Logger ran off a single 3 volt coin cell battery for two years! In comparison, the Raspberry Pi is a huge power hog.
If these issues are important for your project, then stick with a traditional microcontroller. But if not, give the Raspberry Pi a try. I think you’ll be as surprised how easy it is to build something exciting!
3.1415926535
Now it’s your turn. What kind of microcontroller do you use for your projects? What are the Raspberry Pi’s biggest strengths and weaknesses? What does the future hold for embedded computing boards like these?
Read 5 comments and join the conversationFloppy Emu “Scratch and Dent” Sale

Sometimes a Floppy Emu board fails one of my functional tests, and I can’t find the cause of the problem. I have several boards that appear to work fine for 400K and 800K disk emulation (tested on a Mac Plus and Mac 512K), but that don’t work reliably for 1.4MB disk emulation on newer Macs. Instead of throwing these in the trash, I’ve decided to sell the “scratch and dent” boards for $15.
If you’ve got a Mac 512K, Plus, or older Mac SE that only supports 400K and 800K disks, one of these boards might work well for you. Because the boards failed some of the functional tests, there’s definitely a problem with them, so keep that in mind when deciding between these and the regular Floppy Emu boards. Scratch and dent boards are warranted for 400K and 800K operation for 30 days. The 1.4MB emulation on these boards isn’t guaranteed to work, but maybe you’ll get lucky. 🙂
These Floppy Emu boards have a built-in connector, and are physically identical to those that normally sell for $89.
Update: The scratch and dent boards have all been sold. Thanks for the interest!
Business License Hell

Nobody ever said selling Floppy Emus to the public would be easy, but for an operation that’s barely one step above an eBay garage sale, the amount of legal hoops I’ve had to jump through is ridiculous. How did it get this bad? I’ve had self-employment income in previous years, from consulting projects and ads on my web sites, and I simply listed it on schedule C of my state and federal tax returns. Now Floppy Emu sales have ensnared me in some kind of endless bureaucracy of forms and licensing and taxing. Ugh.
It all started when I found a local company to assemble Floppy Emu boards, because I was tired of hand-assembling them myself. The owner advised me that unless I had a California seller’s permit, he would have to charge me 9% sales tax on the assembled boards. Since this was a fairly large order and 9% was a non-trivial amount of money, I did some research and obtained a seller’s permit for Big Mess o’ Wires. Hooray, unnecessary tax avoided! Unfortunately this meant I was now obligated to collect sales tax from California residents when they buy a Floppy Emu, and file a special sales tax return with the state. Ugh. Maybe that wouldn’t have been too bad, if it had been the end of it.
Unfortunately, getting a California seller’s permit seemed to be the trigger for every other state and local agency to hit me up for something. I received a letter from some company called Muni Services informing me that I lacked a business license for the city where I live. I was invited to apply for a license, but there was no mention of the cost, and the application form was entirely geared towards traditional businesses with an office and a retail storefront. I managed to reach somebody at Muni Services who was entirely unhelpful, telling me I should just leave any non-applicable sections of the form blank. In my case, that was pretty much the whole form, except my name and contact info. I sighed, completed the form, and mailed it in.
Some weeks later I received a cryptic bill for $496, which included the business license fee as well as an unexplained penalty. Oddly, the bill wasn’t even from the city, but from this mysterious Muni Services. I was suspicious of some type of scam, but from everything I could tell the city had legitimately contracted Muni Services to handle their business license compliance. So I sighed again and sent them a check for $496, hoping that would be the end of it.
After another interval of a few weeks, I received a phone call from somebody at the city, saying that I needed to go through the “zoning compliance process”. This requires me being at city hall on a weekday between 2:00 and 3:30 PM. Apparently there was some problem with my business license application, because the address provided is not zoned for businesses. No surprise there, it’s my home address! So I have to find a time to visit city hall in the middle of the afternoon on a weekday, and submit some kind of home-based business affidavit. After which it will hopefully be the end of my troubles, but I’m not optimistic.
This whole process makes sense and would be reasonable if I were opening a grocery store or a tire center. But for a part-time hobby that only earns a few hundred dollars a month, these hassles tip the scales to where it’s questionable whether it’s worth it at all.
Read 7 comments and join the conversationFresh from the Factory
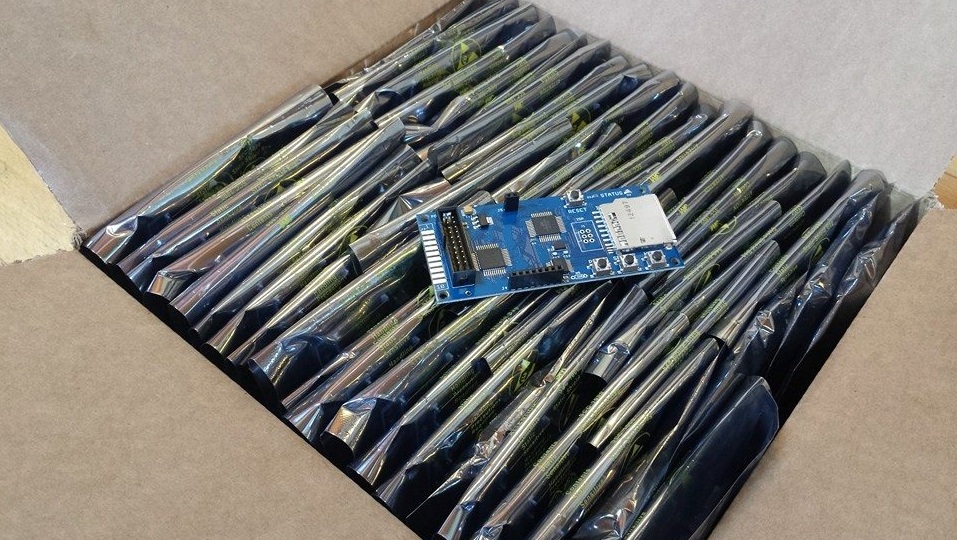
It’s been quiet here in electronics hobby land, but I do have some good news to report: as of now, all Floppy Emu boards are professionally assembled by Microsystems Development Technologies in California, USA. No more hand assembly! It’s a glorious thing to receive a big box stuffed with assembled boards, and as good as a kid opening a package on Christmas Day. Microsystems wasn’t the cheapest option I found, but they weren’t too far off. I was convinced to go with them thanks to their quick and helpful answers to my many questions, and by their nearby location in San Jose. That’s a short drive from where I live, so when the boards were finished I was able to drive down there and meet the owner in person, and discuss potential changes for future board revisions. That alone was worth the cost difference versus slightly cheaper Asian alternatives.
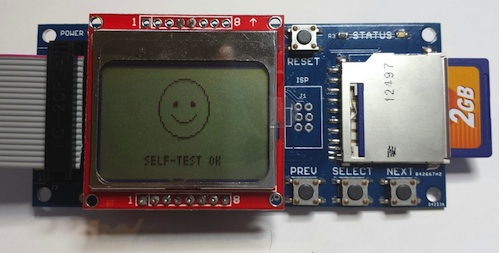
Microsystems took my design files and bill of materials, and handled everything from there. They made the PCBs, purchased the parts, assembled everything, programmed the chips, and ran the board self-test. That’s a huge time savings for me, and it also removed a major source of potential faults because they handled all the tricky surface-mount work.
Unfortunately, the “finished” boards from Microsystems still aren’t quite ready to sell. It takes another 15-20 minutes of labor per board for me to attach a DB-19 connector (or build a DB-19 extension cable, depending on the type of board), assemble an LCD module, adjust the LCD contrast, and run the board through real-world file copy tests on a couple of vintage Macs. I thought Microsystems wouldn’t be able to handle those steps very easily, so I asked them to skip it. After more discussion, though, it looks like they can do everything except the file copy tests without much trouble. It’ll cost me a few extra dollars, but if it saves me time and headache, it’s probably worth it.
One bummer is that I’m still seeing a few boards that consistently fail my file copy tests, and can’t be sold. This happened sometimes with the old hand-assembled boards, and I never did find the cause, but I suspected it was related to my lousy hand-soldering job. But since it’s still happening with the professionally assembled boards, it’s probably some kind of design flaw. Ugh. For the time being I’m just setting these boards aside in the reject bin, but eventually when I’m sufficiently motivated I’ll see if I can figure out what’s wrong.
TL;DNR – While it doesn’t solve every problem, having professionals source the parts and assemble the boards is very nearly the best thing since sliced bread. I’m happy to give my soldering iron a well-deserved rest.
Read 6 comments and join the conversation