

Acrylic, Wood, Hardboard, Oh My!
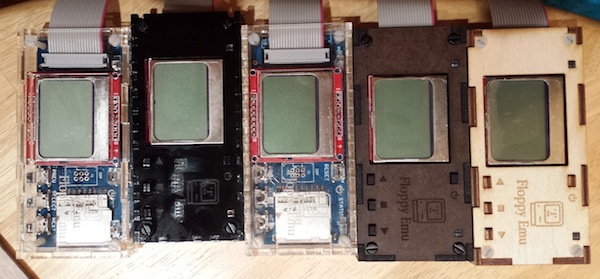
The revision 4 Floppy Emu cases are here, and they look great! Clear and black acrylic in different layouts, birch plywood, and chocolate-colored hardboard. I’m having too much fun putting these together. The purpose of revision 4 was to test a few layout tweaks and a sampling of different materials, so I could decide which one to get manufactured in larger quantities. The layout changes are probably the most important, but first let’s talk about materials.
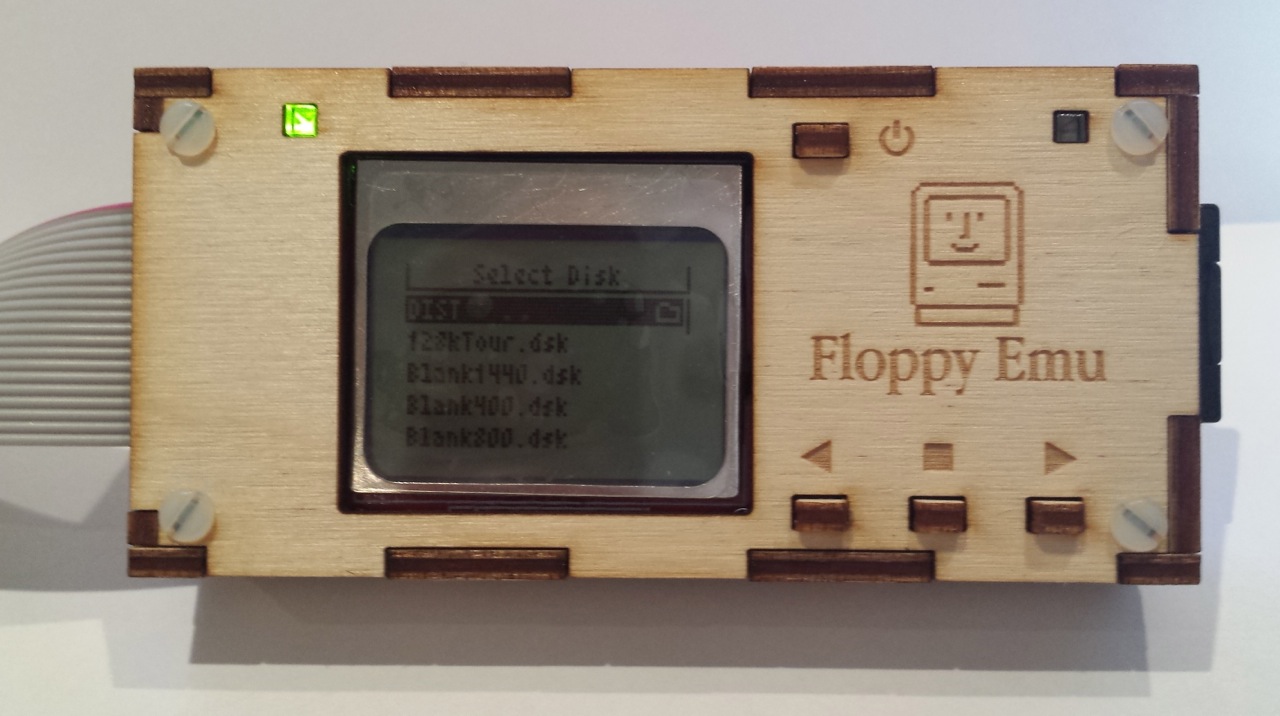
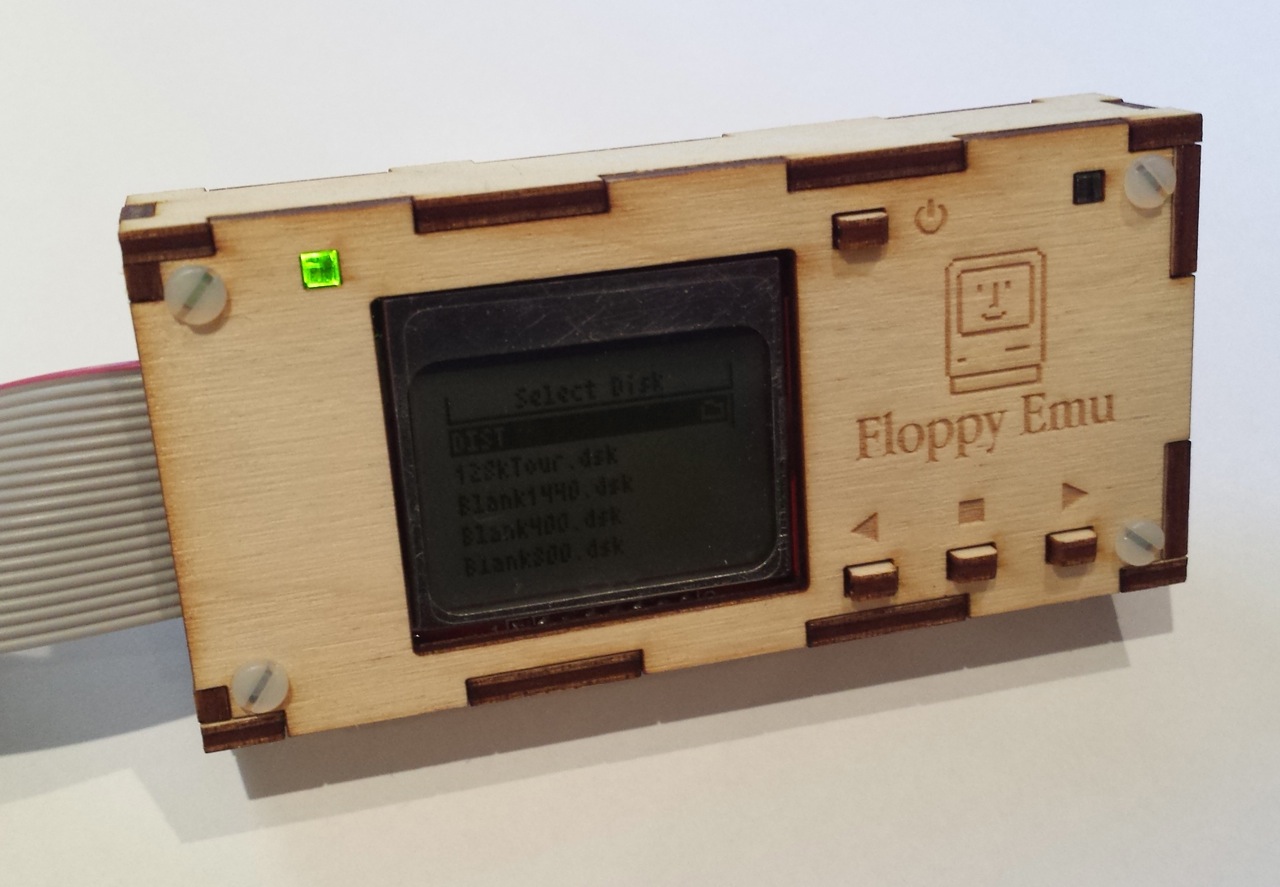
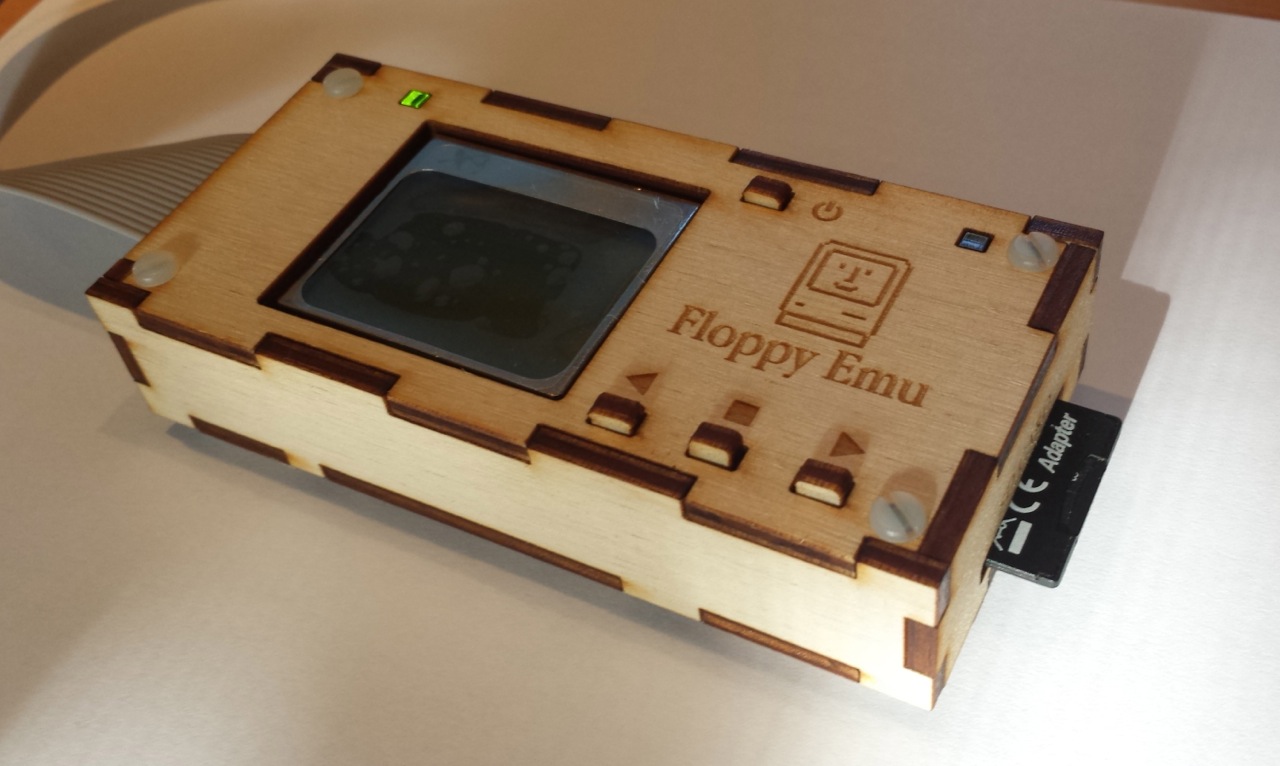
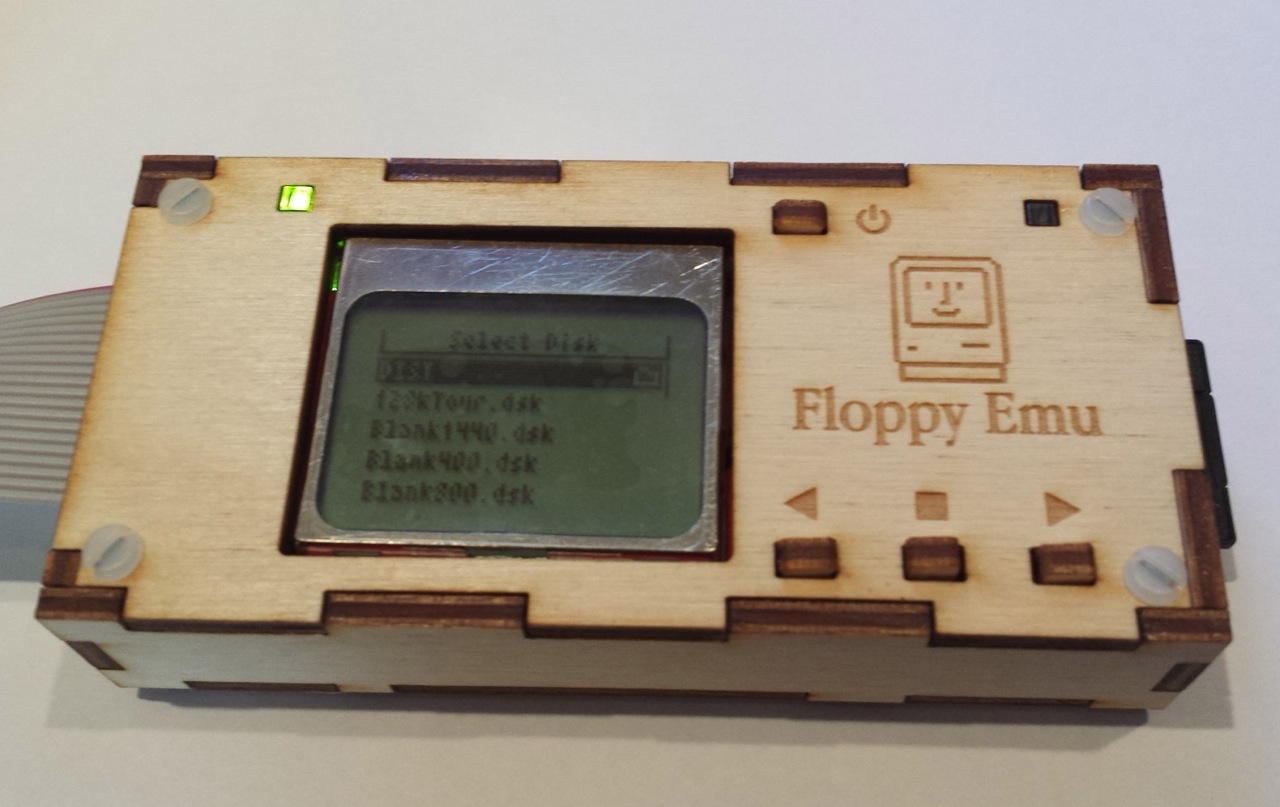
First is a birch plywood. It’s actually just a thin birch veneer over some kind of filler layer, but it still looks very nice. You can see the veneer layers when you look at the board edge-on, and the edges are quite dark in color compared to the face of the board. This gives the case a high-contrast look. The engraved logo and text came out well, although they probably could have been a bit darker. The areas of the the board near the holes and corners are baked a darker shade of brown from the heat of the laser. The white case screws look decent with the light birch, though it’s not the best match. Overall the plywood case came out well, but I can’t say it’s my favorite.
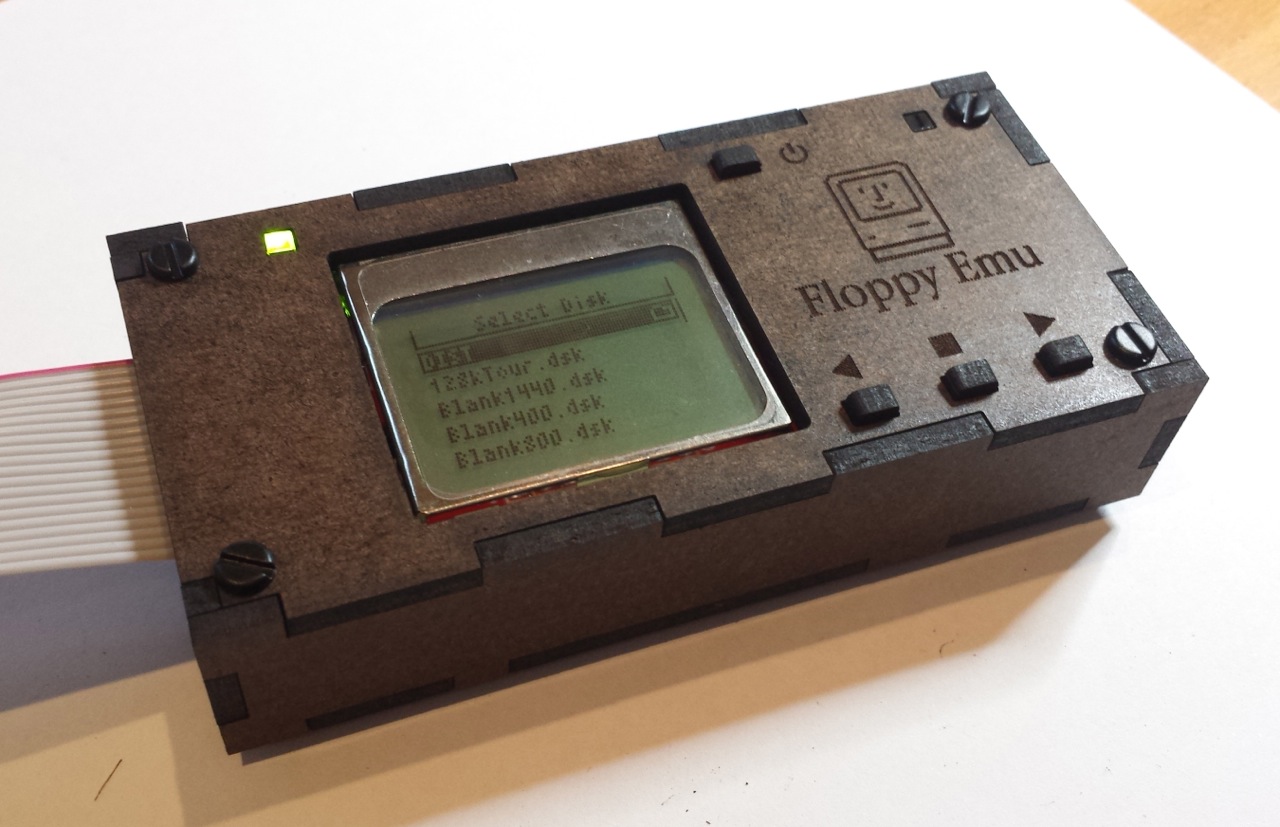
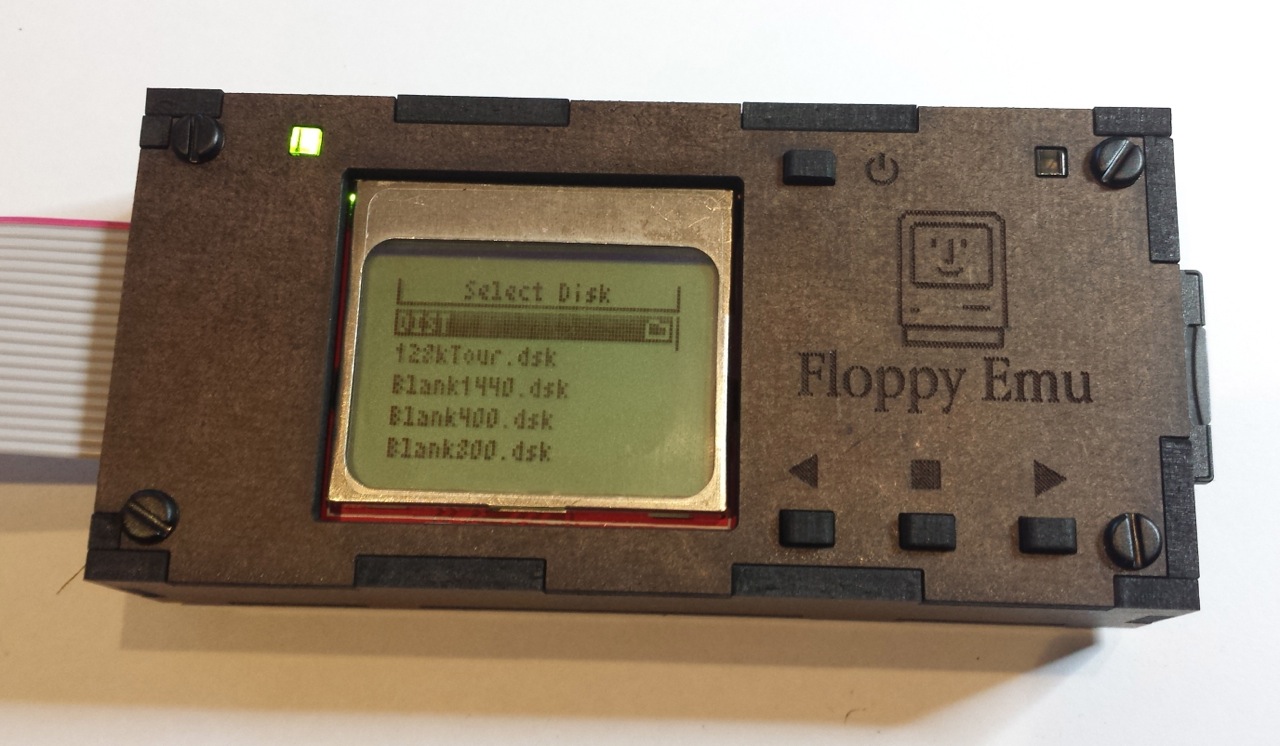
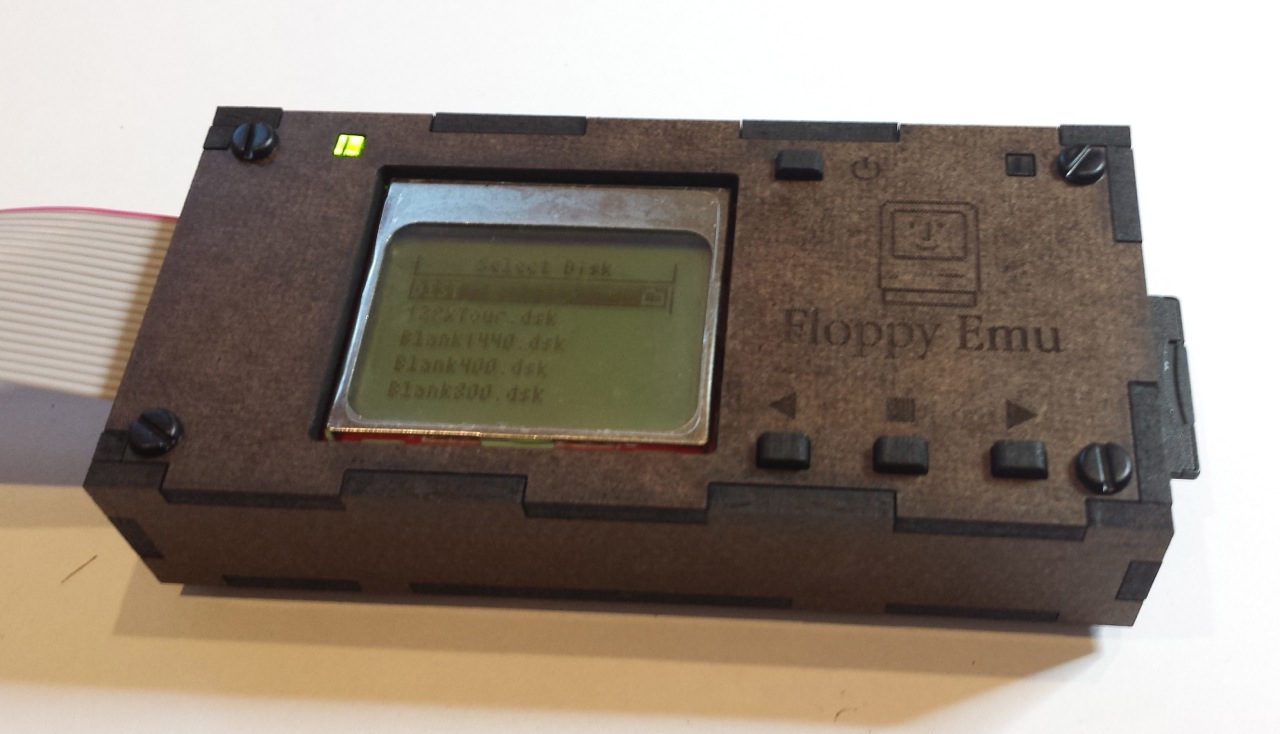
Second up is hardboard, which is just a higher-density version of the ubiquitous MDF fiberboard. You might think fiberboard is icky, but this case came out great and is easily my favorite. The faces are a dark chocolate brown color, while the edges are near black, and the combination looks nice together. The black case screws accent it nicely too. The engraved logo and text are clearly visible, yet still understated. The quality of the engraving is also extremely sharp and crisp. There’s no darkening of the board near holes and corners, like occurred with the plywood. The one big drawback of hardboard is that it requires more than twice as much laser time to cut than the other materials do, which increases its cost. If I sold a hardboard case, it would have to be for $4 or so more than a case made from acrylic or plywood.

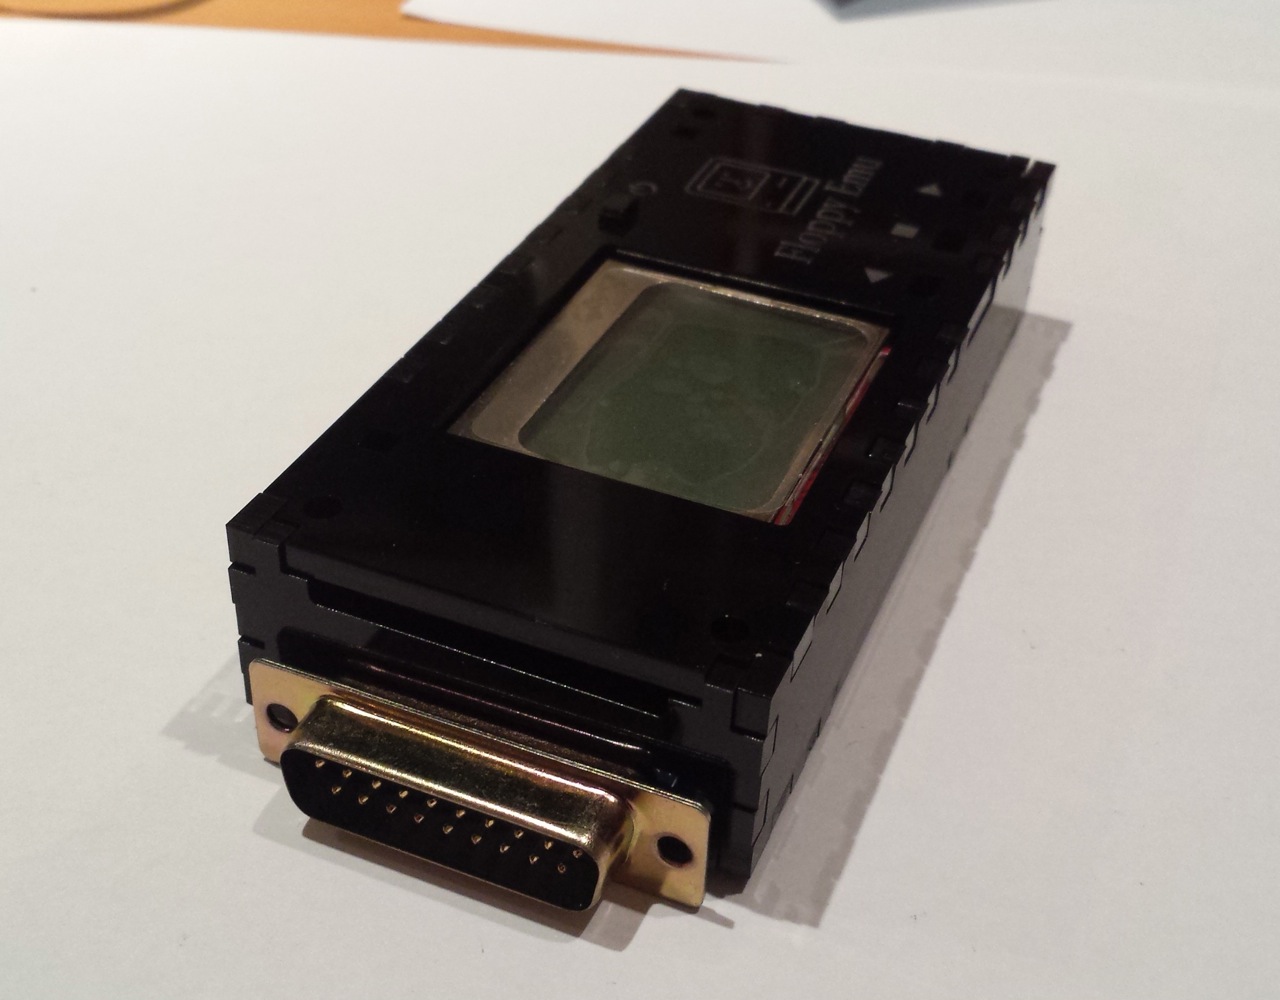
Black acrylic came out well too, and as expected it’s very similar to the previous cases I did in clear acrylic. I’m not in love with it, though. It’s very glossy, and it shows every fingerprint and smudge. The engraving is pretty good, but it’s like matte gray set against shiny black, and is difficult to see from some angles. Maybe it’s good… I can’t decide.
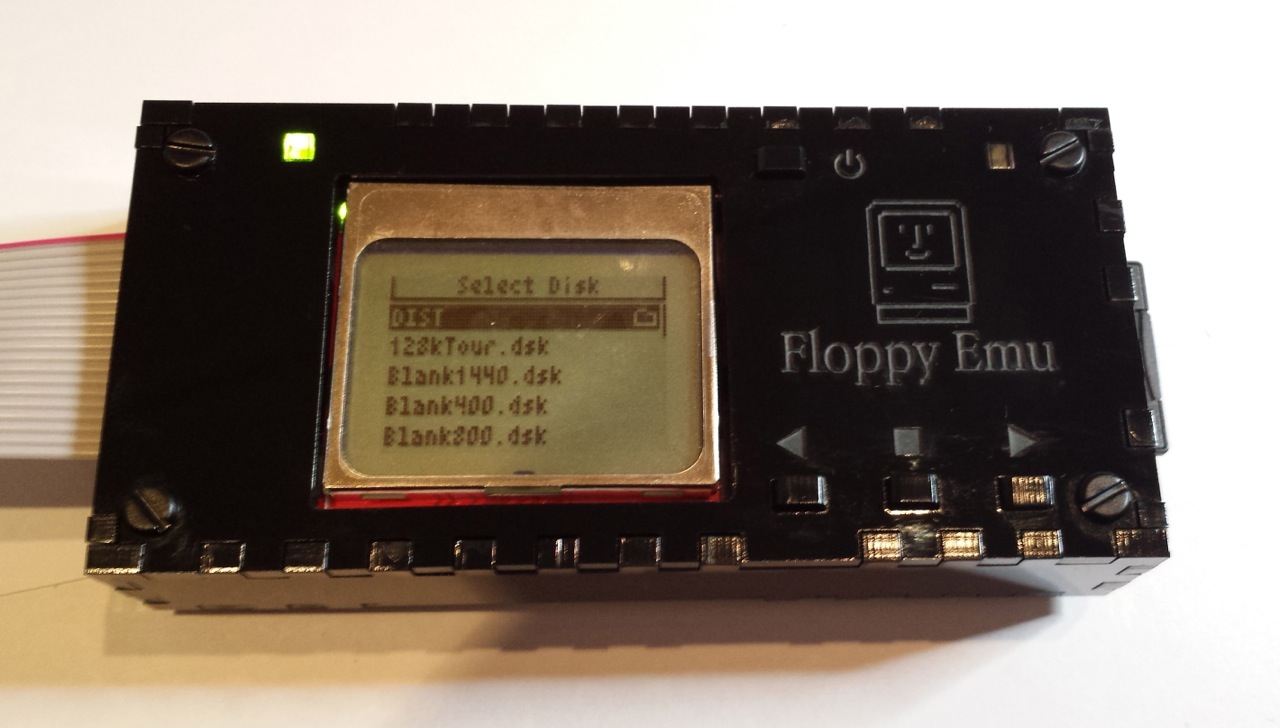
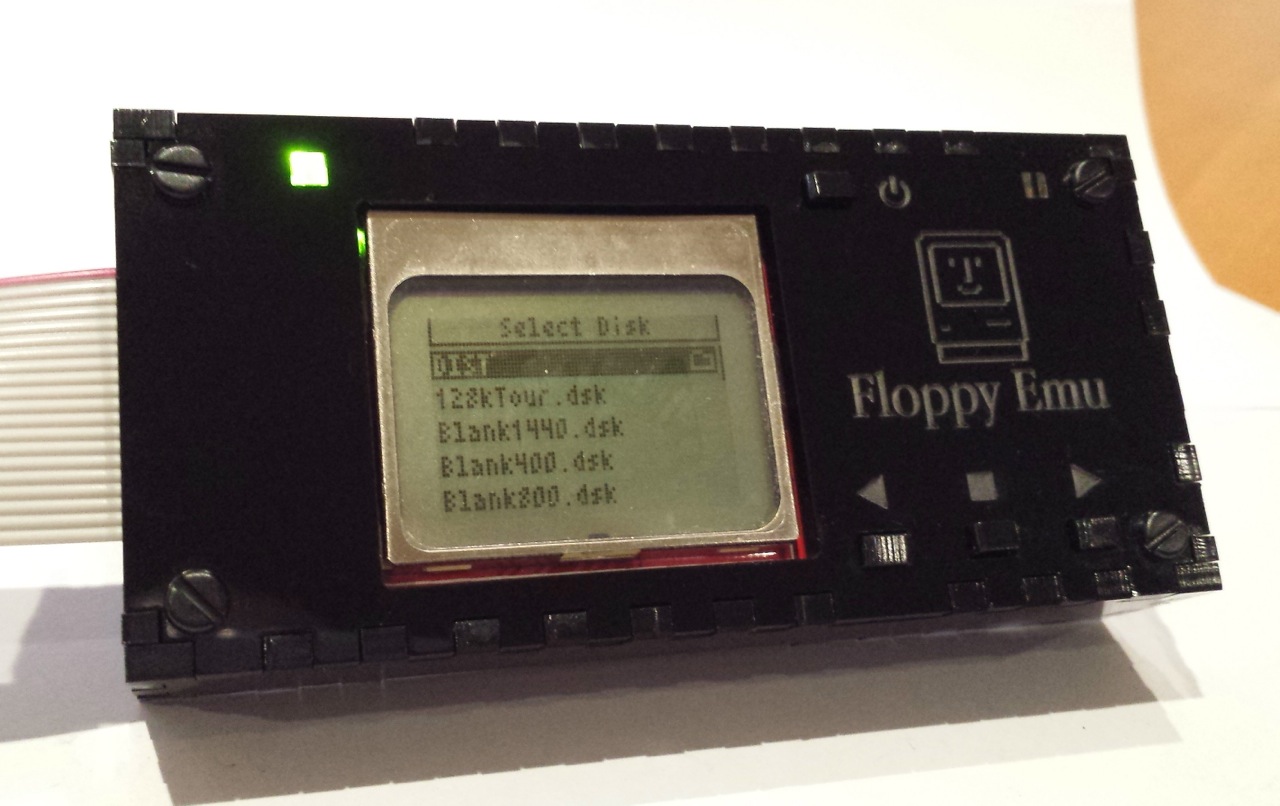

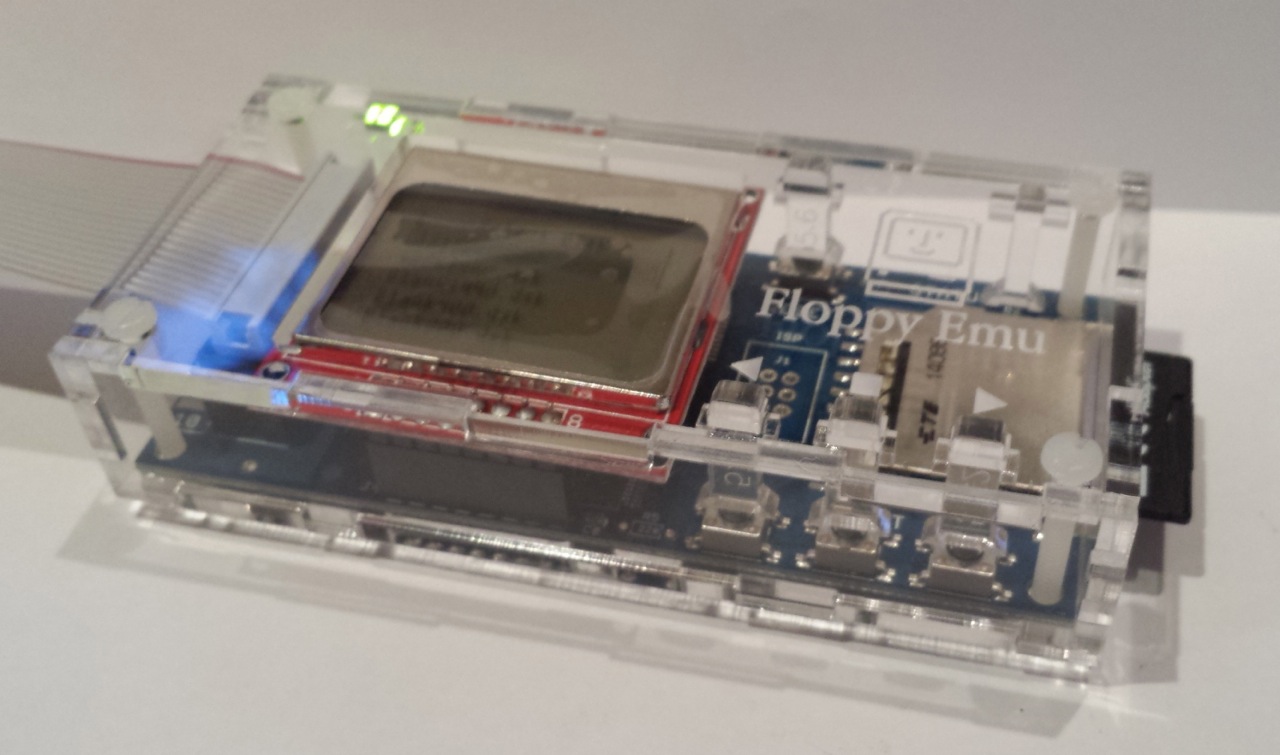
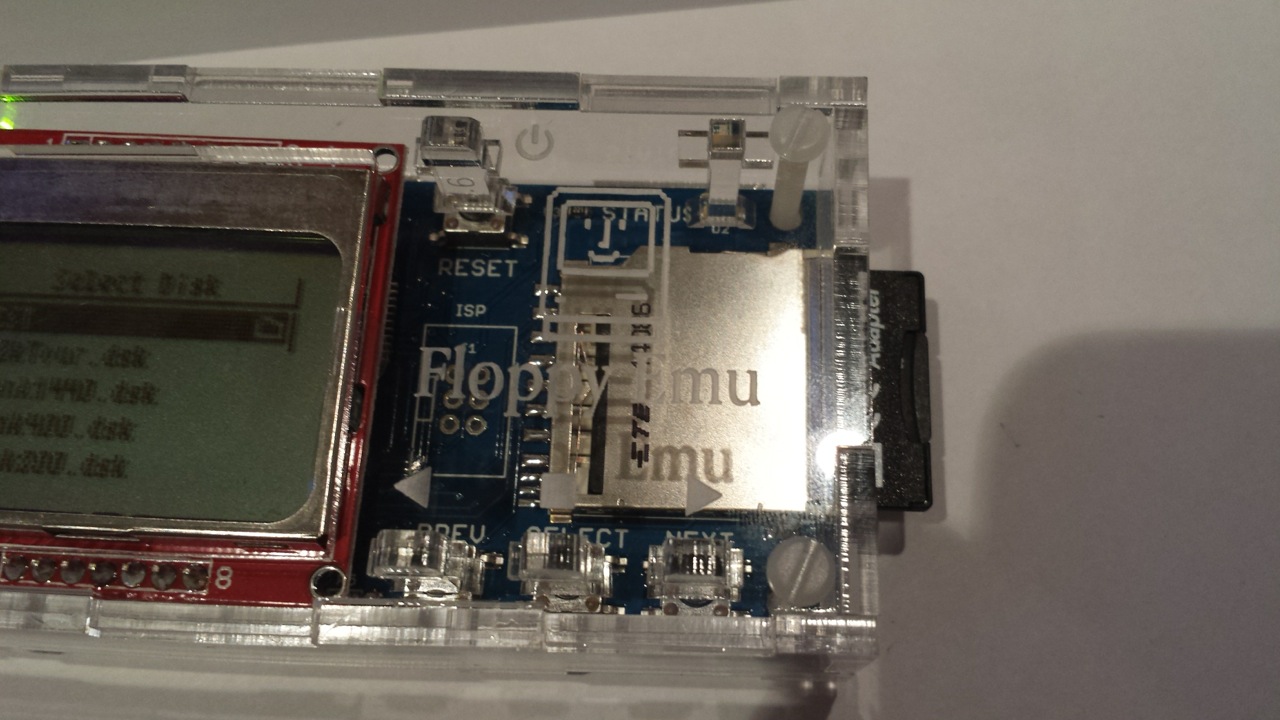
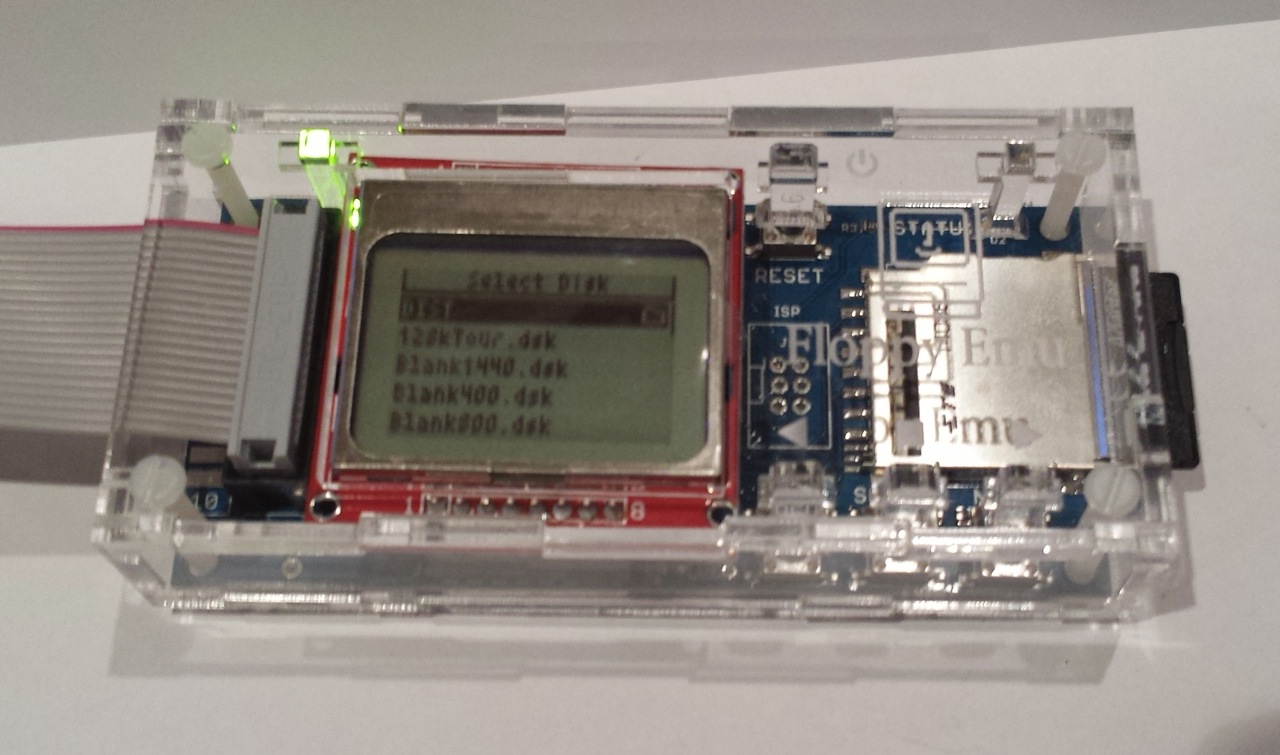
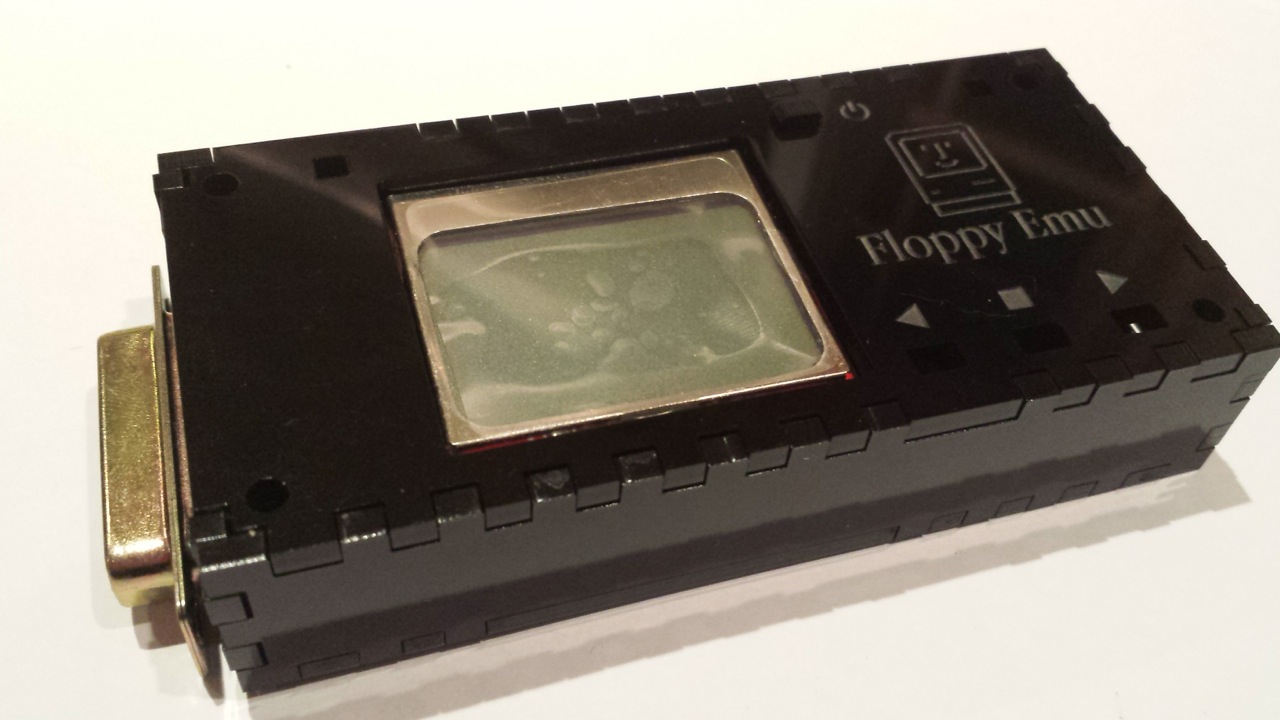
The new clear acrylic case is almost identical to the old one, except I’ve increased the sizes of the finger joints from 4 mm (as shown on the black case above) to 18 mm. This gives the edges a much less busy look, and helps the pieces fit together more easily. Clear acrylic shows fingerprints too, though not as much as black. And everybody likes clear, right?

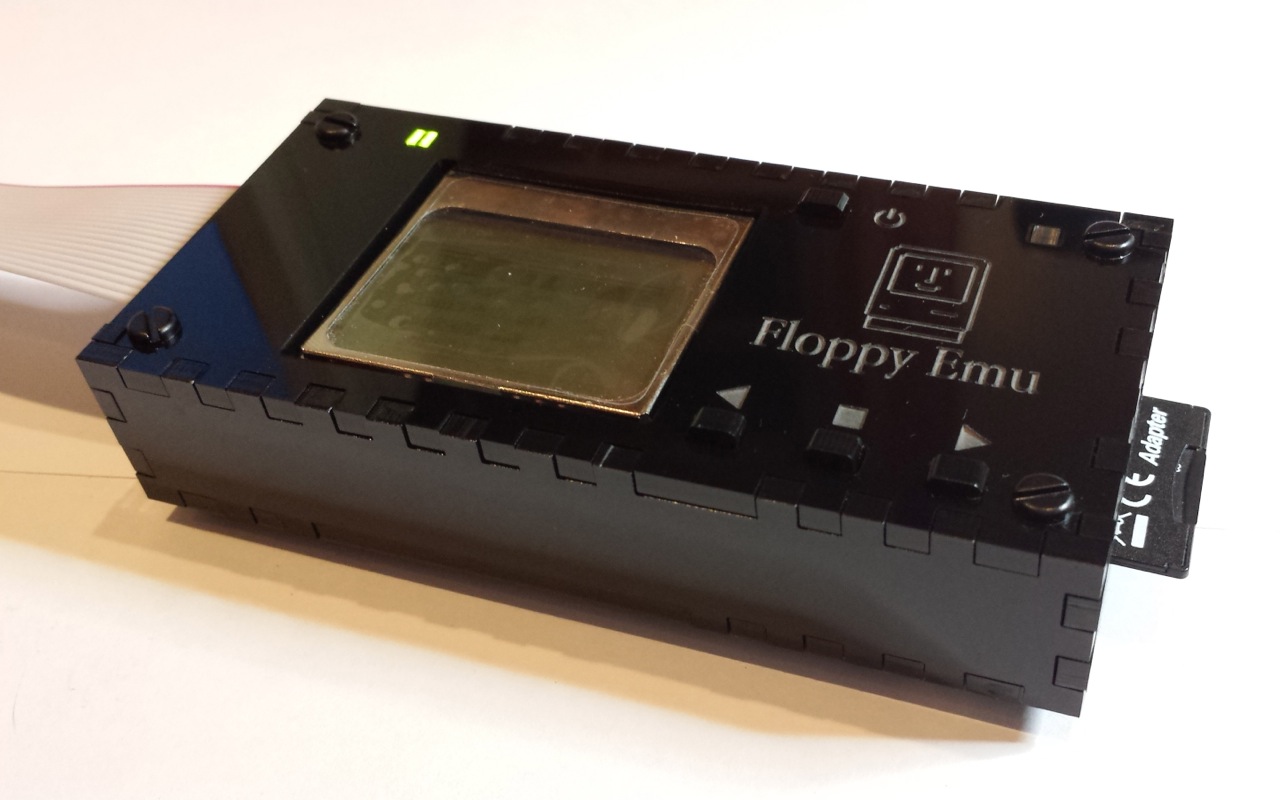
I don’t have photos of the layout changes, but they’ll help save manufacturing dollars and assembly headaches. Believe it or not, going from 4 mm to 18 mm finger joints cuts almost $1 off the cost of the case. Fewer direction changes for the laser as it’s cutting means it can finish the job quicker. I also eliminated the two extra pieces I’d been using to accommodate boards with a built-in floppy connector, and instead there’s now a punch-out section on two of the boards that can be removed if necessary, opening a space for the connector. I tested the punch-outs in acrylic and they worked well – didn’t break loose accidentally, but could be broken off using only finger pressure when needed. I didn’t think to include punch-outs in the two wooden cases, but hopefully they’ll work equally well there.
I also made several tiny size adjustments to help make the “swords” for the LEDs and buttons fit just right. And I didn’t quite get it perfect, but now I think I have the dimensions I need to nail it next time. The buttons have tiny nubs on them to help prevent them from slipping back through the top plate while you’re assembling the case. This worked pretty well, but wasn’t 100% reliable. I suspect it will still be necessary to use the tape trick during assembly that I described last time. Hopefully people won’t mind that too much.
Armed with all this information, I think I’m about ready to do a larger manufacturing run of at least a few dozen cases. Given what I saw from these, I’ll probably make the majority of them clear acrylic, and maybe make a few hardboard ones I’ll sell for a couple dollars more as “premium cases” or similar. Thanks to everyone who wrote in with their preferences and requests. Check back in about 10 days and I hope to have a stock of new cases ready to go!
Read 2 comments and join the conversation2 Comments so far
Leave a reply. For customer support issues, please use the Customer Support link instead of writing comments.
I have no use for the Floppy Emu, but I do love the hardboard version the most. The clear one looks OK too but if I wanted to see the circuit, I just wouldn’t use a case. The others are meh. They look fine but given the choice, I’d spend the extra couple bucks for the hardboard.
I discovered your page yesterday and I already ordered an Emu and a case for my mac 128k! What you have achieved is extraordinary. It is the most straightforward, neat and intelligent means I have come across to keep 30 yo software “alive”.
I think that the clear case looks fantastic, and the whole device is not only worth using, but worth displaying.
However, I think this project of yours could go further! A person has come with an interesting idea for a vintage looking “Apple ][ watch”, displaying a great 3D printed case. You may try developing a “vintage looking” case for your Emu too! It would look terrific. Here you have the instructable for the Apple ][ watch, to give you an idea of what I’m talking about: http://www.instructables.com/id/Apple-II-Watch/?ALLSTEPS